How to Refinish Butcher Block with Spar Urethane (When You Can’t Seal the Underside)
The Installation Trap: Why Standard Polyurethane Fails on Installed Butcher Block
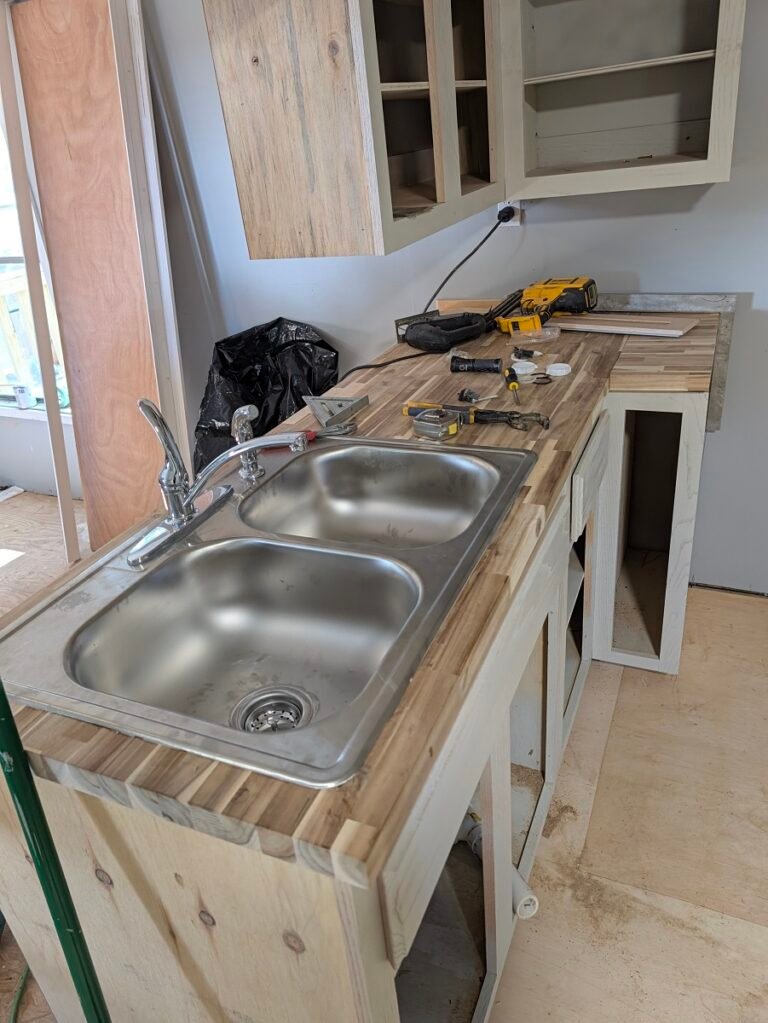
Learning how to refinish butcher block with spar urethane is one of the most effective ways to protect wood countertops when you cannot seal the underside. While butcher block looks incredible in a kitchen remodel or rental unit, standard interior finishes often fail when the slabs are already permanently fastened to the base cabinets.
If your slabs are already permanently screwed down, glued, or plumbed around a sink cutout, pulling them out to finish the bottom is often out of the question.
Here is why that becomes a disaster with standard interior polyurethane:
- The Cup and Warp: Wood breathes. When humidity rises, the unfinished underside absorbs ambient moisture while the sealed top stays bone dry. Because standard polyurethane cures into a rigid, rock-hard plastic shell, the uneven moisture absorption causes the wood staves to cup, warp, or split along the glue joints.
- The Water Ring Nightmare: Mineral oil and butcher block conditioners require constant monthly reapplication and offer near-zero defense against tenant drink rings, standing puddle leaks from dish racks, or leaky sink strainers.
The working field solution? Spar urethane. Formulated originally for exterior marine brightwork, spar urethane contains long-oil alkyd resins that remain supple and elastic after curing. As seasonal moisture moves through the wood, spar urethane expands and contracts with the natural grain rather than snapping its seal or micro-cracking.
Here is the exact field process for stripping down cured poly and laying down a bulletproof, water-resistant spar finish without removing your countertops.
Tools and Materials Required
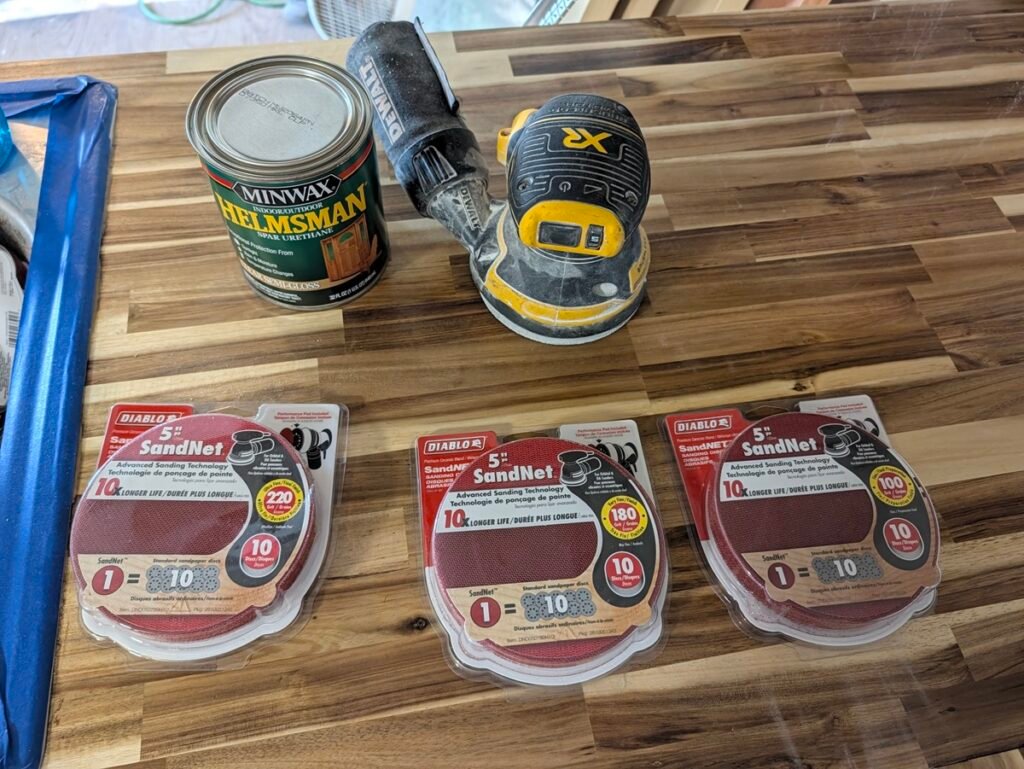
- Finish: Minwax Helmsman Indoor/Outdoor Spar Urethane (Semi-Gloss or Satin).
- Random Orbital Sander: 5-inch palm sander (DeWalt or similar).
- Sanding Discs (Grit Progression): Diablo SandNet ceramic discs in 100 grit, 180 grit, and 220 grit. (Mesh SandNet discs run significantly cooler and resist clogging from gummy topcoats far better than paper).
- Inter-coat Scuffing: 400 to 440-grit fine sanding block or finishing pad.
- Dust Management: Shop vacuum, compressed air / blower, and microfiber or tack cloths.
- Application: High-density natural bristle brush or lint-free applicator pad.
Step 1: Sanding Off Cured Polyurethane (100-Grit Knockdown)
If poly was already applied and cured for a few days, you cannot simply scuff and topcoat over it—the finishes are chemically incompatible and will peel. You have to take the wood back down to bare grain.
- Start with 100-Grit: Mount a 100-grit SandNet disc onto your orbital sander.
- Follow the Grain: Move steadily back and forth, strictly following the direction of the wood staves. Never linger in one spot, and never drag the sander sideways across the seams, which leaves cross-grain swirl gouges that show through high-gloss finishes.
- Strip to Bare Timber: Work in consistent overlapping passes until the hard poly sheen is completely stripped away and the natural wood pores are exposed.
Step 2: Refining the Grain (180 and 220-Grit Progression)
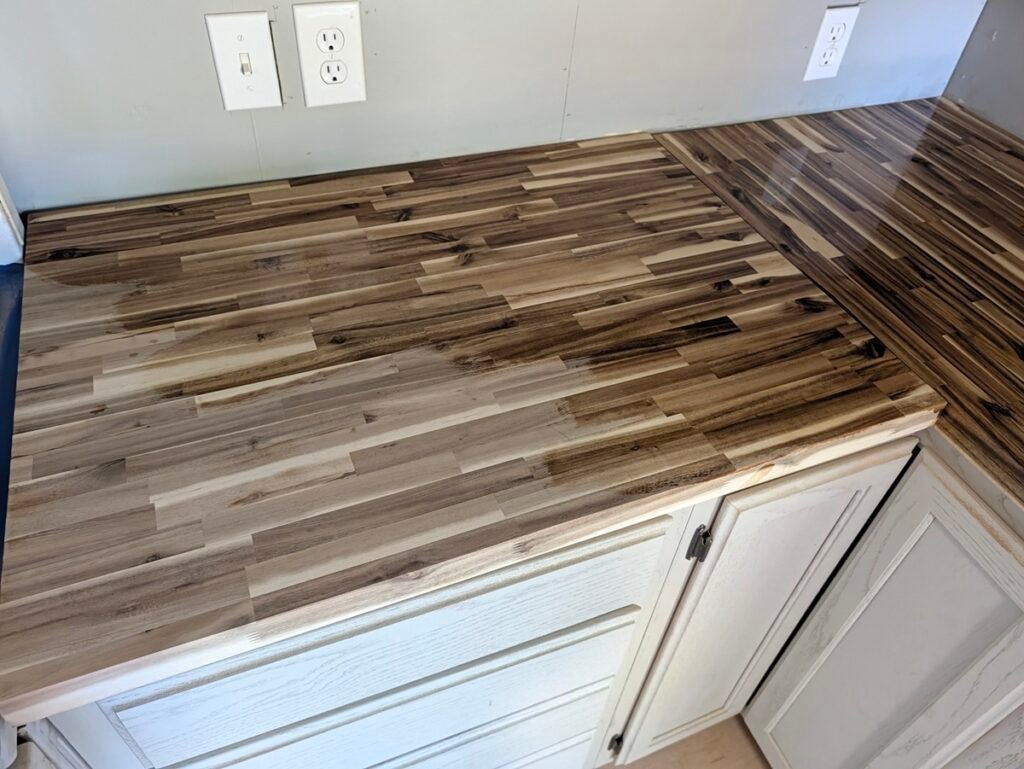
Once the topcoat is off, darker patches may remain where the initial sealer deeply soaked into softer grain sections.
- Step to 180-Grit: Run a full pass over the entire surface with 180-grit abrasive. This erases the scratches left by the aggressive 100-grit disc and pulls out the remaining deep-set poly remnants.
- Finish with 220-Grit: Complete the dry sanding sequence with 220-grit. This closes the grain down just enough to prevent the wood from drinking the first coat unevenly while keeping the surface smooth to the touch.
- De-Dust the Entire Kitchen: Do not rush this step. Vacuum the surface thoroughly, blow off the surrounding backsplash and seams, and wipe down every square inch with a clean microfiber cloth. Any stray speck of dust left behind will turn into a gritty bump in your finish.
Step 3: Laying Down Coat 1 (The Saturation Coat)
Spar urethane is thicker and slower to cure than fast-drying waterborne finishes, which gives it superior self-leveling properties.
- Stir, Never Shake: Gently stir the Helmsman can with a stir stick. Shaking introduces microscopic air bubbles that remain trapped in the wet film.
- Apply Wet and Even: Lay down the first coat in long, slow strokes traveling with the grain. Make sure the wood is thoroughly saturated. The dry timber will drink this first coat deeply.
- The 36-Hour Deep Dry: Because spar varnish relies on flexible oil resins, rushing recoat times is a recipe for a wrinkled, gummy mess. Let this base saturation coat cure undisturbed for a full 36 hours before touching it.
Step 4: The 440-Grit Micro-Scuff & Subsequent Coats
To achieve a glass-smooth commercial surface, every subsequent layer must mechanically bond to the one beneath it.
- The First Scuff (440-Grit): Take a fine 400 to 440-grit sanding block and lightly scuff the entire countertop. You are not trying to remove material—you are simply knocking down dust nibs and breaking the surface tension so Coat 2 has teeth to grip.
- Wipe Clean: Wipe the entire slab clean with a tack cloth or slightly damp microfiber rag to pull away all fine white dust.
- Lay Down Coat 2: Apply your second coat of spar urethane with smooth, overlapping strokes. Allow it to cure fully according to humidity levels (typically 12 to 24 hours minimum).
- Final Single-Pass Scuff & Coat 3: Take your 440 block and make one light, even pass over the surface. Wipe away any stray debris, and lay down your third and final coat.
Landlord Care & Maintenance Notes
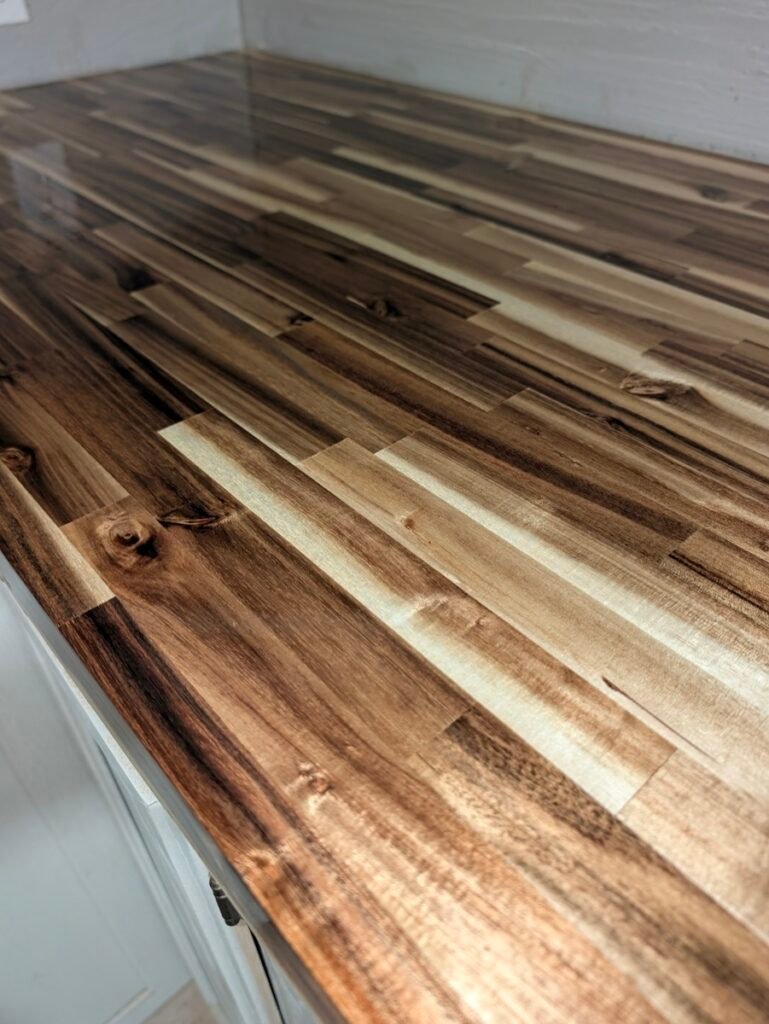
- Cure Time vs. Dry Time: The counter will feel dry to the touch within 24 hours, but spar urethane takes roughly 7 to 10 days to achieve full chemical hardness. Advise tenants not to slide heavy appliances (like microwaves or air fryers) or leave rubber-footed items on the counter during the first week.
- Food Safety Notice: While cured, fully hardened polyurethane and spar urethane are non-toxic, butcher block finished with spar urethane is a work surface, not a cutting board. Always instruct tenants to use separate cutting boards for prep work to prevent knife gouges from breaking the protective barrier.
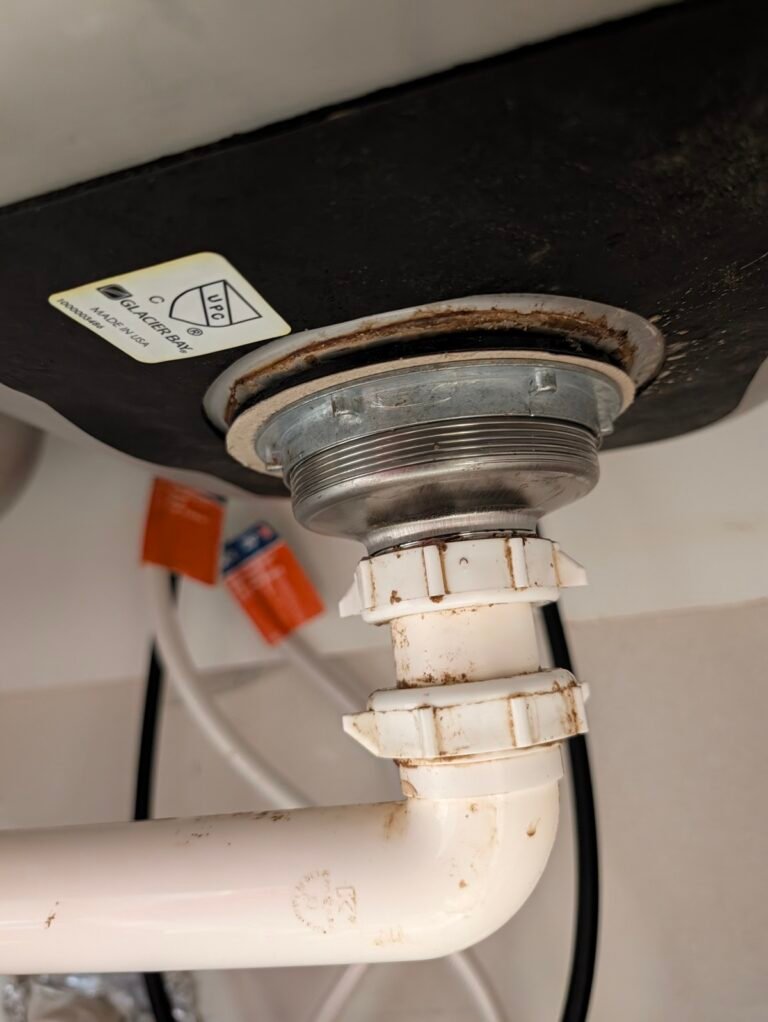
- Secondary Protection: If you are servicing or replacing plumbing fixtures around the sink after completing the counter, make sure you properly bed your kitchen sink basket strainer and check that your washer valves and shutoffs don’t leak into the under-sink cabinetry.