
How to Winterize Your Home: 10 Easy Field Steps
Every fall when temperatures begin to dip, knowing how to winterize your home properly is something I take seriously across all of our rental properties and our own home. I have learned the hard way that unhooked garden hoses will burst exterior sillcocks inside the wall, drafty crawlspaces will freeze uninsulated copper and PEX supply lines, and neglected furnace filters will choke out blower motors right when the heating load peaks.
In my experience managing residential buildings, prepping a property for cold weather isn’t about buying gimmicky gadgets or burning incense sticks to look for drafts. It comes down to securing the building envelope, isolating water lines before the first hard freeze, and servicing mechanicals so I am not running emergency service calls in twenty-degree weather with a frozen flashlight.
Whether you oversee rental turnovers or just want to protect your personal home, this is the exact, field-tested checklist I work through every autumn to keep the heat inside, prevent catastrophic water damage, and cut down monthly utility bills.
Tools & Materials Checklist
Before learning how to winterize your home from the ground up, keep these essential weatherization materials on hand in your service truck:
- Foam Pipe Insulation: 3/4-inch and 1/2-inch pre-slit polyethylene foam tubing.
- Heavy-Duty Weatherproofing Tape: Acrylic cold-weather tape or heavy foil tape (avoid basic gray duct tape; the adhesive dries out and falls off within one season).
- Self-Adhesive Door & Window Weatherstripping: Closed-cell EPDM rubber foam or silicone bulb seals.
- Exterior Silicone / Polyurethane Sealant: Paintable, flexible exterior caulk rated for temperature expansion.
- Electrical Outlet & Switch Foam Gaskets: Pre-cut insulating foam plates for exterior walls.
- HVAC Air Filters: Proper size pleated filters rated MERV 8 to 11.
- Outdoor Faucet Freeze Covers: Hard plastic, foam-lined bibb protectors with rubber pull-straps.
- Cordless Drill & Driver Bits: For securing loose crawlspace access doors and adjusting door thresholds.
- Caulk Gun & Utility Knife: For trimming insulation sleeves and sealing perimeter air gaps.
10 Field Steps: How to Winterize Your Home
Taking care of winter maintenance in a logical sequence prevents doubling back. Start outside with plumbing and exterior envelope seals, then move inside to mechanicals and insulation.
1. Disconnect Exterior Hoses and Protect Hose Bibbs
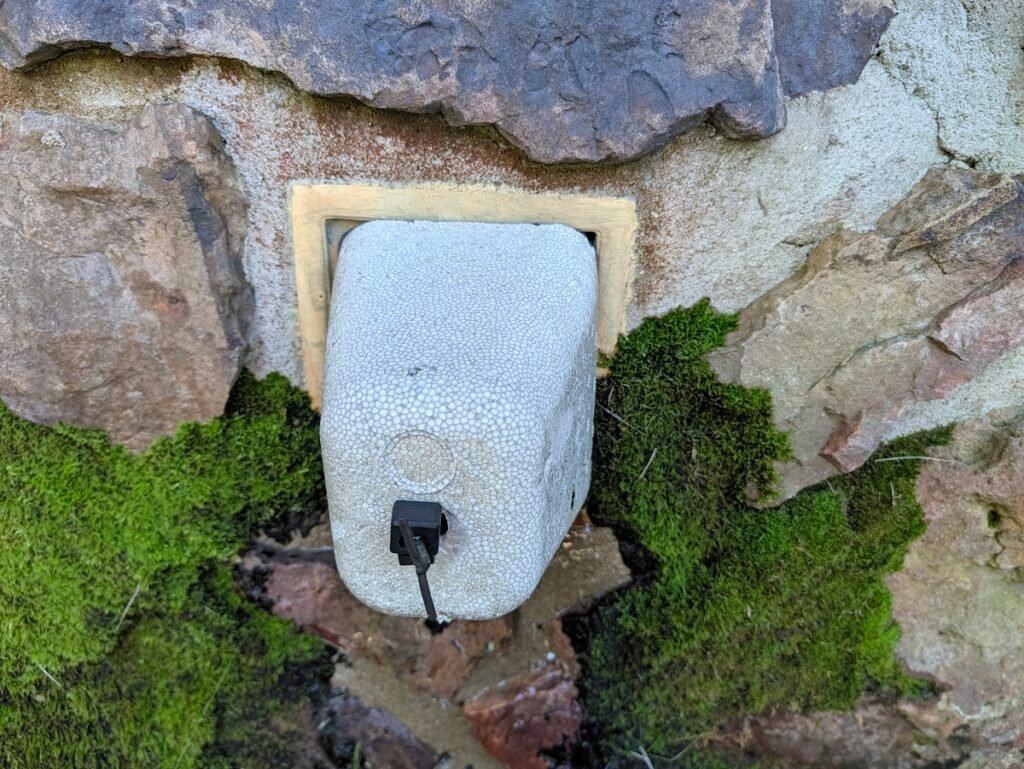
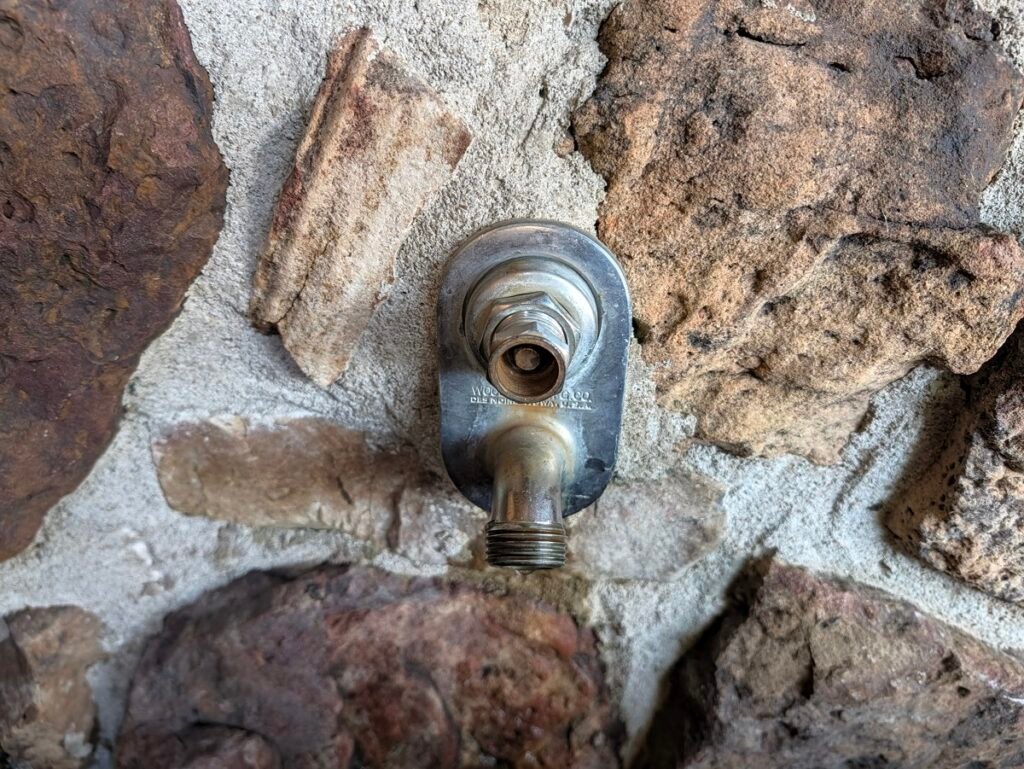
The single most common early-winter failure is an exterior spigot bursting inside the wall. Modern homes often utilize “frost-free” sillcocks, which have a long valve stem extending 8 to 12 inches inside the heated space. However, if a tenant leaves a garden hose connected full of water, that valve cannot drain. The trapped water freezes, expands, and splits the brass tube inside the wall framing.
The moment someone opens the valve in the spring, water floods the subfloor. Understanding how to winterize your home always starts on the exterior with proper plumbing isolation.
- Disconnect every garden hose, nozzle, and splitter from outdoor spigots before the first freezing night. Drain the hoses and store them flat.
- If your home features interior shut-off valves for exterior hose bibbs (common in basements and crawlspaces), close that interior valve, open the outside spigot to drain residual water, and leave the drain cap cracked open.
- On standard spigots without indoor shutoffs, install a hard-shell foam faucet cover, pulling the rubber tether tight against the siding to block wind chill.
2. Insulate Exposed Water Lines in Unconditioned Spaces
A critical plumbing priority when learning how to winterize your home is wrapping exposed pipe runs in cold basements and crawlspaces. Unconditioned basements, crawlspaces, and exterior plumbing walls are prime zones for pipe bursts. A sudden cold draft through an open crawlspace vent can freeze a 3/4-inch copper or PEX water supply run in just a few hours.
Snap pre-slit closed-cell foam sleeves over all exposed hot and cold supply lines. Pay special attention to:
- Elbows and transitions where pipe comes out of the ground or enters an exterior wall.
- Securing the joints: Never use standard gray cloth duct tape; it degrades quickly in damp crawlspaces. Use heavy-duty zip ties or acrylic foil tape every two feet to lock the slit shut.
- If an older line developed a freeze crack in previous winters, verify that the line was properly restored using durable fittings. For step-by-step techniques on bridging damaged underground or crawlspace lines, review our field guide on how to repair underground copper water line runs.
3. Seal the Building Envelope and Stop Perimeter Drafts
When evaluating how to winterize your home, sealing perimeter leaks around windows and doors delivers an immediate return on comfort. Air leaks around door frames, baseboards, and window trim cause the furnace to cycle constantly. Rather than guessing, check the weatherstripping on a windy afternoon by running your hand around window sashes and exterior door jambs.
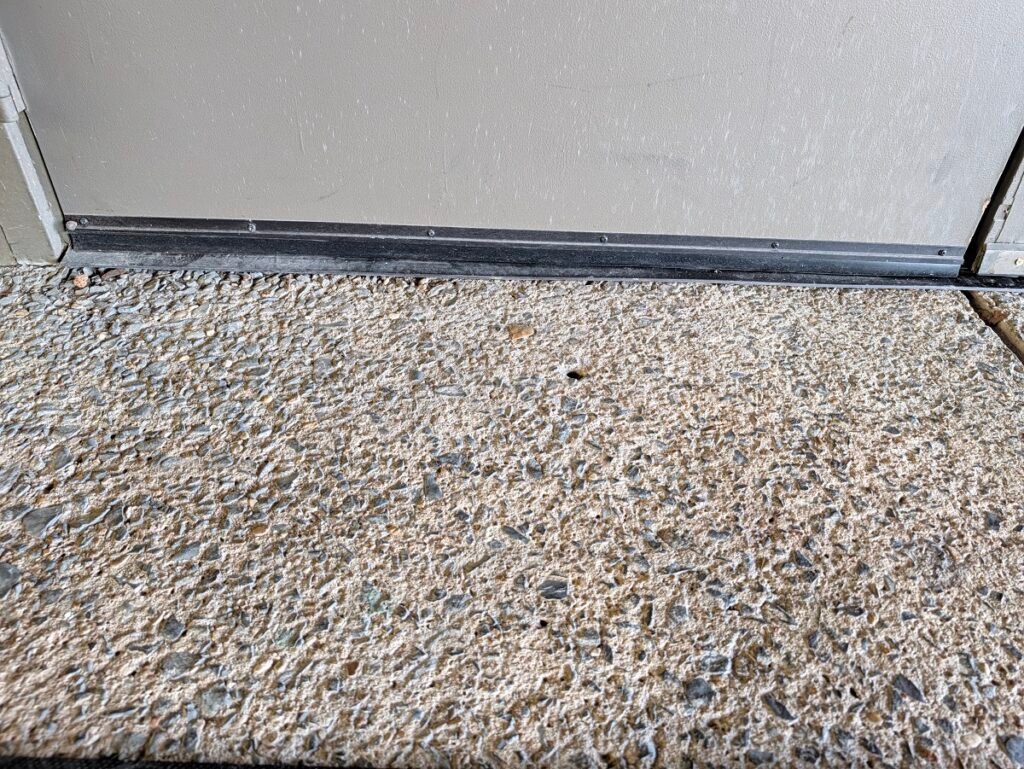
- Exterior Doors: Look for daylight around the perimeter of closed exterior doors. If daylight shows, replace worn EPDM rubber weatherstripping in the jamb kerf. If air sweeps in beneath the door, adjust the brass screws on the door threshold upwards until the rubber sweep seals firmly against it without binding.
- Exterior Caulking: Inspect the exterior perimeter where window frames and siding meet. Scrape away cracked, dried-out sealant and apply a continuous bead of exterior-grade polyurethane or silicone caulk to prevent freezing wind and driving rain from penetrating the wall cavity.
4. Install Insulating Gaskets Behind Exterior Wall Outlets
Electrical outlet boxes and light switches cut directly into exterior drywall are major bypass points for cold air. Because junction boxes sit in the insulation cavity, cold air drafts straight through the plate screw holes and prong receptacles into the room.
- Remove the faceplate screws with a standard flathead or Phillips screwdriver.
- Fit a pre-cut foam insulating gasket directly over the receptacles.
- Reinstall the faceplate snug to the wall. For high-draft areas, press child-safety plastic plug covers into unused outlets to stop air movement entirely.
5. Service the Heating System and Replace Air Filters
A primary mechanical milestone in how to winterize your home is prepping your heating system before the initial freeze hits. A clogged air filter restricts airflow across the furnace heat exchanger, causing the high-limit switch to trip and forcing the unit to shut down right in the middle of a freeze.
- Replace your furnace or heat pump return air filter before turning the heat on for the season. Standard fiberglass filters offer little protection; install a pleated filter rated at MERV 8 to 11 to protect the blower motor without restricting airflow.
- Inspect the exterior intake and exhaust PVC pipes on high-efficiency direct-vent furnaces. Clear away dead leaves, wasp nests, and brush so exhaust gases vent freely and fresh combustion air enters without resistance.
- If your unit utilizes an outdoor condenser heat pump, clear leaves and debris 2 feet around the cabinet so the defrost cycle works efficiently.
6. Reverse Ceiling Fans for Winter Heat Distribution
Because warm air is less dense than cold air, heat naturally migrates toward high ceilings while cool air settles around your feet. Most ceiling fans have a small directional switch located on the side of the motor housing.
- Flip the directional switch so the fan blades rotate clockwise (when viewed from below).
- Run the fan on its lowest speed.
- A slow clockwise rotation pulls cool room air upward toward the center and gently pushes warm ceiling air downward along the walls, eliminating hot and cold temperature stratification without creating a chilly breeze.
7. Clean Gutters and Inspect Roof Drainage
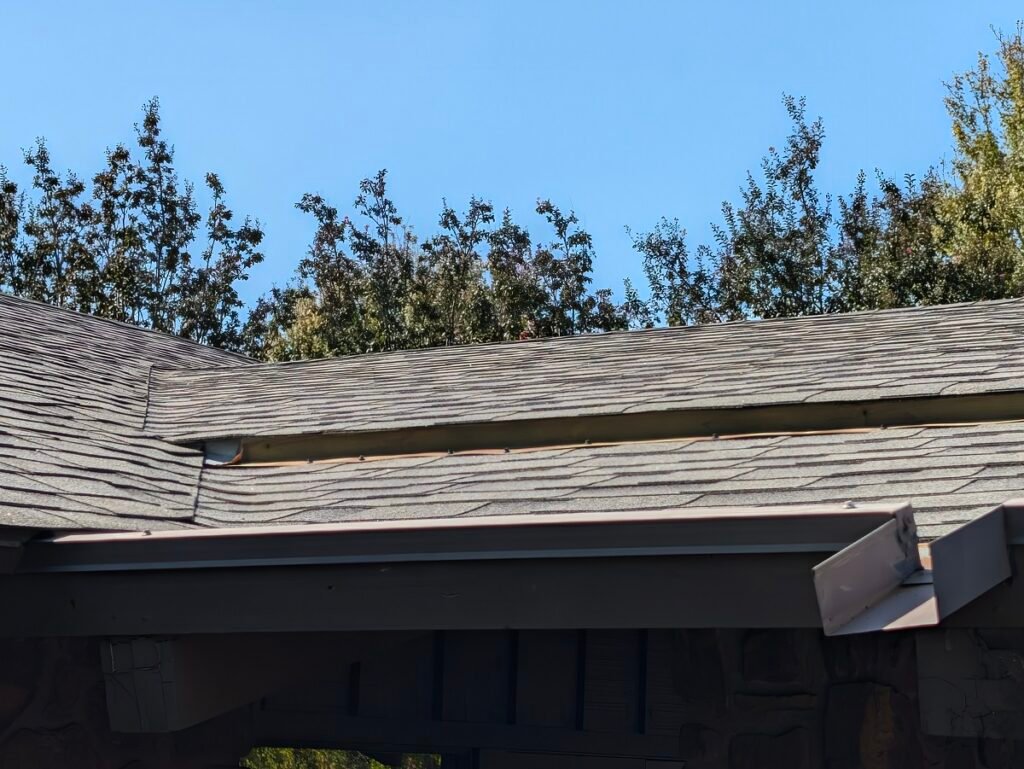
Clogged gutters are the primary trigger for winter ice damming. When gutters stay packed with wet fall leaves, melted roof snow cannot drain. The water backs up along the cold eave, freezes under the first row of shingles, and works its way under the roof underlayment straight into the ceiling drywall. Another critical exterior element of how to winterize your home is keeping roof runoff moving freely away from the building.
- Scoop out all accumulated leaf sludge and flush downspouts with a garden hose before the first freeze.
- Verify downspout elbows discharge water at least 4 to 6 feet away from the foundation wall to prevent soil saturation and basement slab cracking.
- Inspect the roofline from a ladder: confirm flashing around plumbing vent boots and chimneys is seated tightly, with no loose shingles or rusted nails exposed.
8. Close and Insulate Foundation Crawlspace Vents
Addressing crawlspace airflow is an essential phase of how to winterize your home if your foundation relies on open vents. While modern building codes often favor conditioned, encapsulated crawlspaces, millions of existing homes still rely on traditional vented crawlspaces. In winter, open crawlspace vents allow sub-freezing wind to sweep across floor joists, chilling cold floors and freezing uninsulated pipes.
- Close all operable crawlspace foundation louvers before deep winter sets in.
- For non-operable vents, cut blocks of 2-inch rigid foam board (XPS) sized to press-fit into the vent openings from the inside, sealing out wind drafts.
- Ensure the crawlspace access door latches tightly. If the door is a simple plywood hatch, add weatherstripping around the inner lip to keep cold air from drafting across the plumbing lines.
9. Optimize Thermostat Scheduling
Managing indoor temperatures intelligently ties together your overall strategy for how to winterize your home without running up high utility bills. Constantly cranking a manual thermostat up and down burns fuel and stresses mechanical equipment. Setting your thermostat properly helps balance comfort with efficiency.
- If you don’t already have one, install a reliable programmable or smart thermostat.
- Establish an energy-saving schedule: lower the indoor setpoint to 65°F at night or during hours when the building is unoccupied, and bring it back up to 68°F–70°F when active.
- Landlord Field Rule: If a property is sitting vacant between turnovers during the winter, never turn the heat completely off. Maintain a minimum thermostat floor of 55°F at all times to prevent hidden wall plumbing from freezing.
10. Check Fireplaces, Dampers, and Safety Alarms
An open fireplace damper acts like an open window in the roof, allowing thousands of cubic feet of heated indoor air to escape up the chimney flue every day.
- When the fireplace is not actively burning, keep the metal throat damper fully closed and latch any tempered glass doors shut.
- Before lighting your first fire of the season, check the chimney flue with a high-intensity flashlight to verify the flue liner is clear of bird nests, soot buildup, or creosote deposits.
- Replace the backup 9V or AA batteries in all smoke detectors and carbon monoxide (CO) alarms throughout the home. Cold weather increases the risk of heating-related carbon monoxide incidents; ensure units are operating according to National Fire Protection Association (NFPA) guidelines.
Review this checklist to keep track of every milestone involved in how to winterize your home before freezing conditions arrive:
Winterization Maintenance Checklist (Summary)
| Task | Target Area | Tool / Material | Priority |
|---|---|---|---|
| Disconnect Hoses & Cover Bibbs | Exterior siding | Insulated bibb covers | Critical (Pre-Freeze) |
| Insulate Water Supply Lines | Crawlspace / Basement | 3/4″ foam pipe wrap & foil tape | Critical (Pre-Freeze) |
| Replace HVAC Air Filters | Return air grilles | Pleated MERV 8–11 filter | High (Monthly) |
| Seal Door Jambs & Thresholds | Exterior entryways | EPDM weatherstripping & screwdriver | High |
| Install Switch/Outlet Gaskets | Exterior perimeter walls | Foam outlet sealers | Moderate |
| Reverse Ceiling Fan Motors | Living areas | Fan directional switch | Moderate |
| Clean Gutters & Clear Downspouts | Roof eaves & fascia | Gutter scoop & hose | High (Late Fall) |
| Close Crawlspace Vents | Foundation perimeter | Foam vent plugs | High (Early Winter) |
| Set Minimum Thermostat Floor | Living zones | Smart/programmable thermostat | Critical (55°F min) |
| Test Smoke & CO Detectors | Hallways & bedrooms | Fresh batteries / test button | Life Safety |
Taking a Saturday in late autumn to execute how to winterize your home eliminates costly freeze-related plumbing repairs, keeps living areas draft-free, and ensures heating equipment runs dependably through the coldest weeks of the year.