How to Install a Sink in Butcher Block (With Screw Trick)
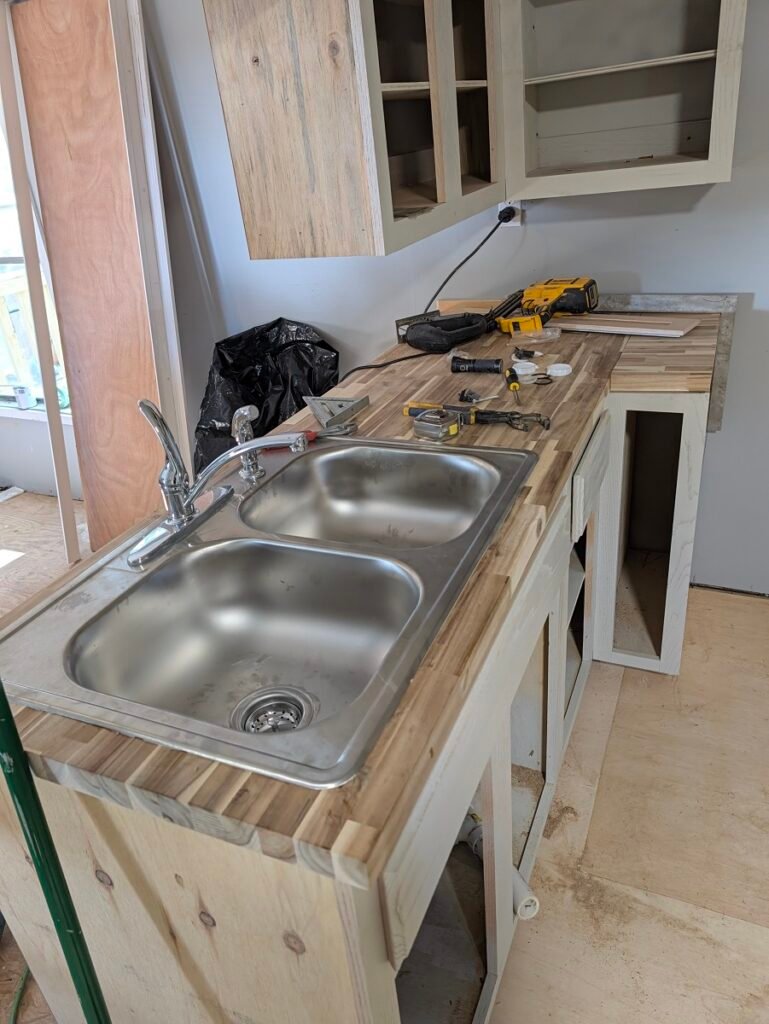
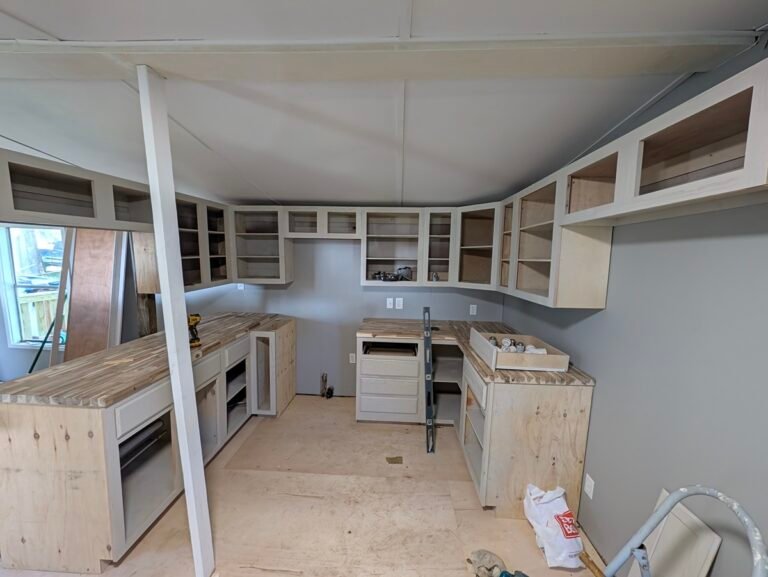
Once you get a set of butcher block countertops shimmed, leveled, and secured, it’s time for the moment of truth: dropping in the kitchen sink.
I don’t care how many of these you’ve done over the years—cutting a giant hole dead center in a brand new, solid wood top will make your stomach turn a little bit. It is a one-shot cut. If you cut that line too wide or let the saw wander, you can’t put the wood back. You’re just looking at an expensive piece of firewood.
On top of the nerve-wracking cut, you need to know how to install a sink in butcher block with its extra thickness. Standard laminate countertops are about an inch thick with the buildup strip. A solid butcher block slab runs 1 1/2 inches thick. When you drop a standard sink into that opening, you’ll quickly find the little mounting clips that came in the box aren’t anywhere close to reaching the underside of the wood.
You don’t need a specialty router or an expensive set of aftermarket brackets. Here is the exact, field-tested way I cut the cutout clean and get factory sink clips to lock down tight on thick wood tops.
Tools & Materials You’ll Need
- Jigsaw with a clean-cutting wood blade
- Drill and a 5/8″ paddle (spade) bit
- Tape measure and pencil
- Masking or painter’s tape
- Eight 2-inch exterior deck screws
- 100% silicone sealant (clear or color-matched)
- A helper (or a 2×4 scrap cut into a temporary T-brace)
- Clean rags and mineral spirits for squeeze-out cleanup
Step 1: Lay Out the Template and Check It Twice
Crack open the sink box and dig out the cardboard or paper template.
Before you trace anything, center the template where you want the sink to sit over the sink base cabinet. Make sure you leave enough meat behind the sink for your faucet backsplash clearance, and ensure the bowl itself isn’t going to crash into the cabinet sidewalls underneath.
Tape the template down flat so it can’t slip. Trace your cut line clearly with a pencil.
Now, do not just trust the factory paper cutouts blindly. Pull your tape measure out. Measure the actual sink lip underneath, measure your line, and double-check your clearance. Remember: you want the hole big enough for the sink basins and the clip rails to drop through freely, but small enough that the top rim covers the raw cut completely with plenty of overlap.
Step 2: Drill the Corner Starting Pockets
You can’t just drop a jigsaw straight into 1-1/2 inches of solid hardwood without beating up the surface. You need starting holes in the corners.
- Chuck up a 5/8-inch paddle bit in your drill.
- Measure your offset on each corner before drilling. You want the outside edge of the paddle bit hole to kiss your cut line, but not go a fraction of an inch past the corners of your template.
- Drill straight down through each of the four corners. These holes give your jigsaw blade a pocket to drop into and turn the corner cleanly without binding.
Step 3: Run the Jigsaw (And Support the Waste Piece)
Drop a sharp, aggressive wood blade into your jigsaw. Take your time, keep the shoe of the saw flat against the butcher block, and follow your pencil line from corner hole to corner hole.
Because the countertop is already installed over the base cabinets, you have to watch out for the cutout drop. When you get to that fourth and final side, the weight of that heavy cutout slab will try to tear, splinter, or break away before you finish the pass.
You have two ways to handle this:
- The Helper Method: Have someone reach into the cabinet from underneath (or stand right beside you) to support the weight of the slab while you finish the final 6 inches of the cut.
- The Scrap T-Brace Method: If you’re working solo, cut a scrap 2×4 board to the height of the cabinet interior, screw a wider scrap across the top to make a “T”, and wedge it snug under the cutout area before you make your final cut.
Once the cut is complete, lift the cutout block out and blow away the sawdust.
Step 4: Test Fit the Sink and Check the Clips
Set the sink down into the dry hole. Make sure it sits dead flat and doesn’t rock.
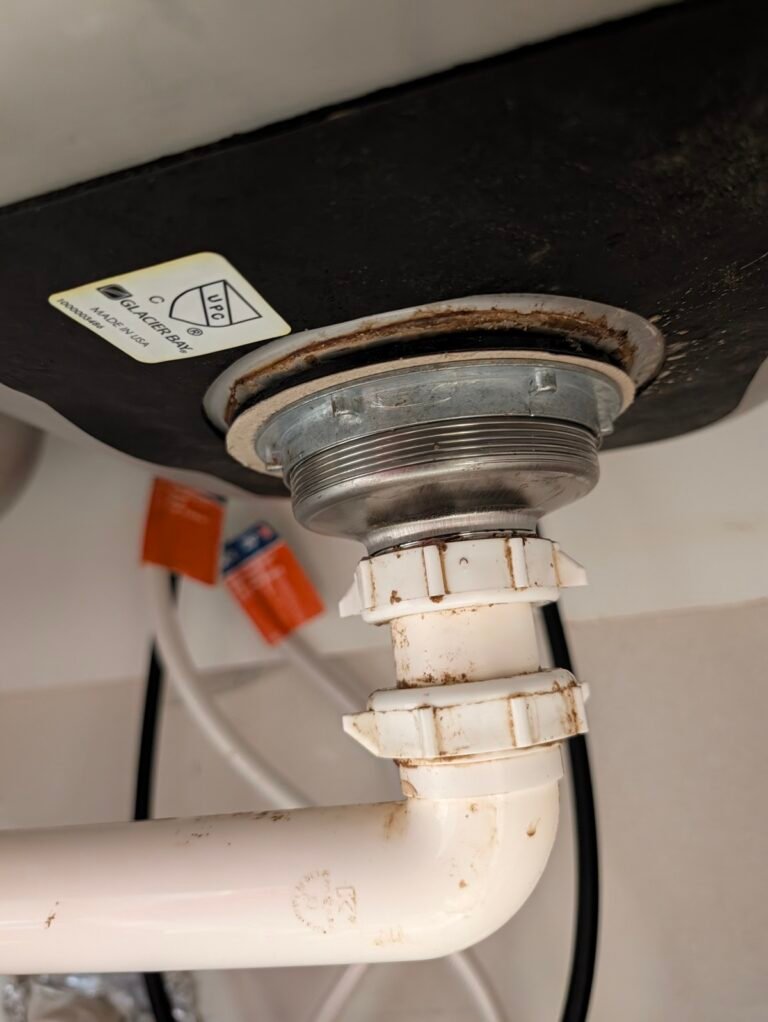
Look underneath with a flashlight. Look at the factory metal rails running along the bottom rim of the sink. Because the butcher block is 1-1/2 inches thick, the short hook bolts on the standard clips can’t swing under and bite into the wood like they would on thin laminate.
A lot of guys will tell you to pull the whole top back off, flip it over on horses, and run a router to carve a relief bevel around the entire perimeter. If you don’t own a router, or if your countertops are already scribed, glued, and screwed down tight to the cabinets, that isn’t happening.
Here is the quick fix that solves it from inside the cabinet.
Step 5: The Screw Trick to Install a Sink in Butcher Block
The factory sink clip only needs something solid to pull against when you turn the screw. If the wood is too far away, bring the anchor closer to the clip.
- Look at where the sink rails sit inside the cabinet.
- Measure just below the rail line into the solid meat of the butcher block cutout edge.
- Run two 2-inch deck screws into each side (eight screws total around the perimeter).
- Drive them straight into the edge of the wood, leaving roughly 1/4 inch to 3/8 inch of the screw head sticking out.
Those screw heads act as steel ledges. When you slide your factory clips into the sink rail, the lower hook of the clip grabs the shank of the deck screw instead of reaching for the bottom of the countertop.
Step 6: Bed It in Silicone and Lock It Down
Pull the sink back out of the hole one last time.
- Flip it upside down on a piece of cardboard so you don’t scratch the finish.
- Run a steady, medium bead of 100% silicone along the entire underside of the outer rim. Don’t skimp, but don’t dump a whole tube on it either.
- Carefully lift the sink, flip it over, and drop it straight down into the hole. Try to land it centered on the first shot so you don’t smear silicone all over the wood face.
- Crawl underneath with your flashlight and a screwdriver.
- Slide the factory sink clips onto the rails, lining each clip up with the deck screws you set in Step 5.
- Tighten the clip screws down snug. As you turn the screw, the clip pulls hard against the deck screw head, pulling the sink rim down tight against the butcher block and compressing the silicone. Don’t over-torque with an impact driver and strip the thin clip threads—snug by hand is plenty.
Step 7: Wipe the Squeeze-Out
Back up top, you should see a small, even ribbon of silicone squeezed out around the entire perimeter of the sink rim. That squeeze-out is proof you have a watertight seal that will keep sink splashes from getting under the rim and rotting out the end-grain of your butcher block.
Take a rag dampened with mineral spirits (or rubbing alcohol) and wipe the excess silicone clean against the sink edge. Let the silicone cure for 24 hours before hooking up your drain plumbing and turning the water on.
No specialty clips, no router mess, and no pulling the countertops back off the cabinets. Just a clean cut, a few deck screws, and a sink that won’t budge.