How to Hang a Vinyl Screen Door: A Landlord’s 6 Simple Steps Field Guide
Knowing how to hang a vinyl screen door the right way will save you a world of headaches. If you manage rentals or deal with an older house, you already know the story with cheap wooden screen doors that swell shut, rot, and fall apart.
On my rentals, I don’t even bother with wood anymore. I pick up solid vinyl doors—this one is a Screen Tight Waccamaw. They don’t rot, you never have to paint them, and they can take a beating.
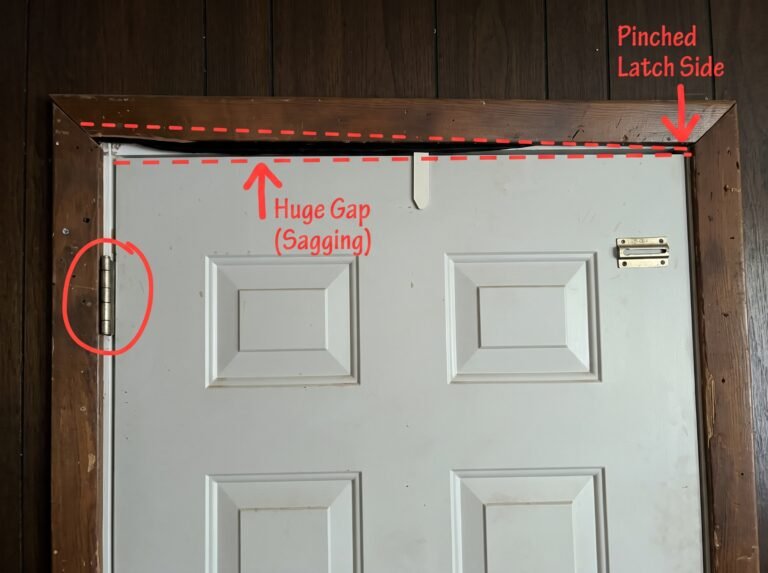
The catch? Exterior openings are almost never plumb or square. If you try to slap one straight out of the box into your brick mold, it’s going to bind, drag, or drive you nuts. Here is my straightforward walkthrough on how to hang a vinyl screen door so it swings right and stays out of your hair.
Tools you need for how to hang a vinyl screen door
Nothing fancy here, just what I had in the truck:
- Screen Tight Waccamaw 36″ solid vinyl screen door (came with the hinges, handles, and hardware)
- Tape measure and pencil
- Circular saw with a fine-finish blade
- Cordless drill/impact
- 5/64″ drill bit (don’t skip this)
- #2 Phillips bit and a hand screwdriver
- Hook-and-eye latch kit
Step 1: Checking the opening and grabbing the door
First thing I did was measure my door opening. It was 36 inches, so I headed out and bought a 36-inch slab.
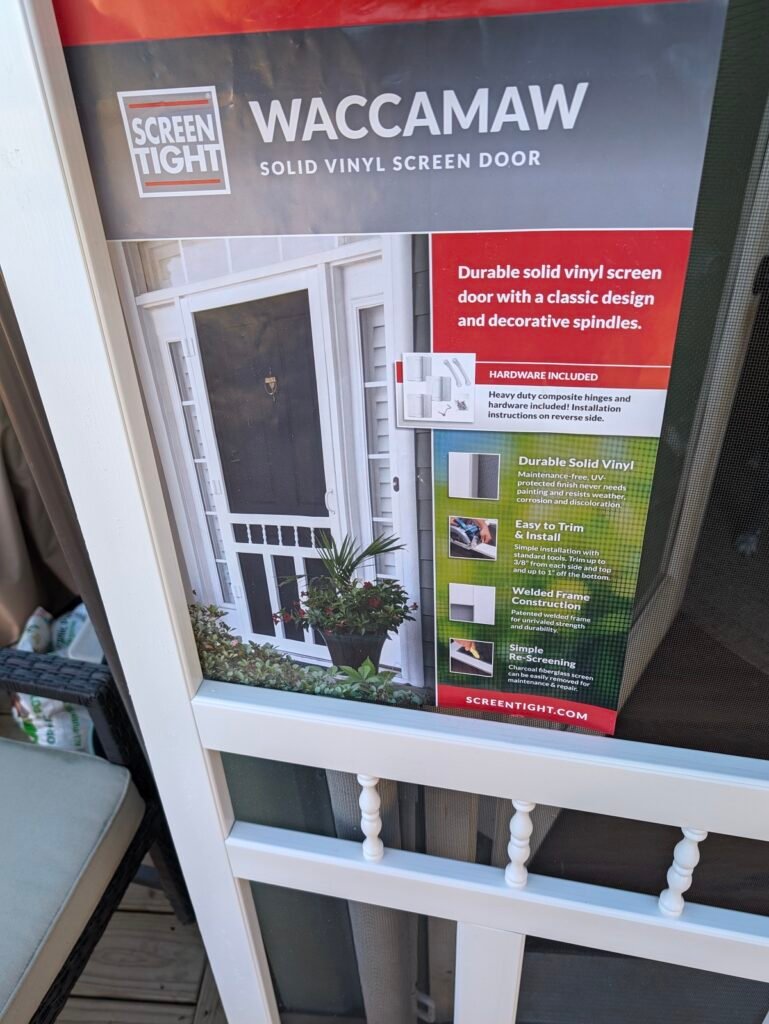
When I got back and test-fit it against the jamb, it was just a hair too wide. I needed to shave about 1/4 inch off to get the spacing right. Don’t worry if yours is like that—these vinyl doors let you trim up to 3/8″ off the sides and up to an inch off the bottom.
Step 2: Step 2: Trimming a vinyl screen door on the hinge side (my favorite field trick)
Most people will lay the door down and just rip whatever side is closest. Don’t do that.
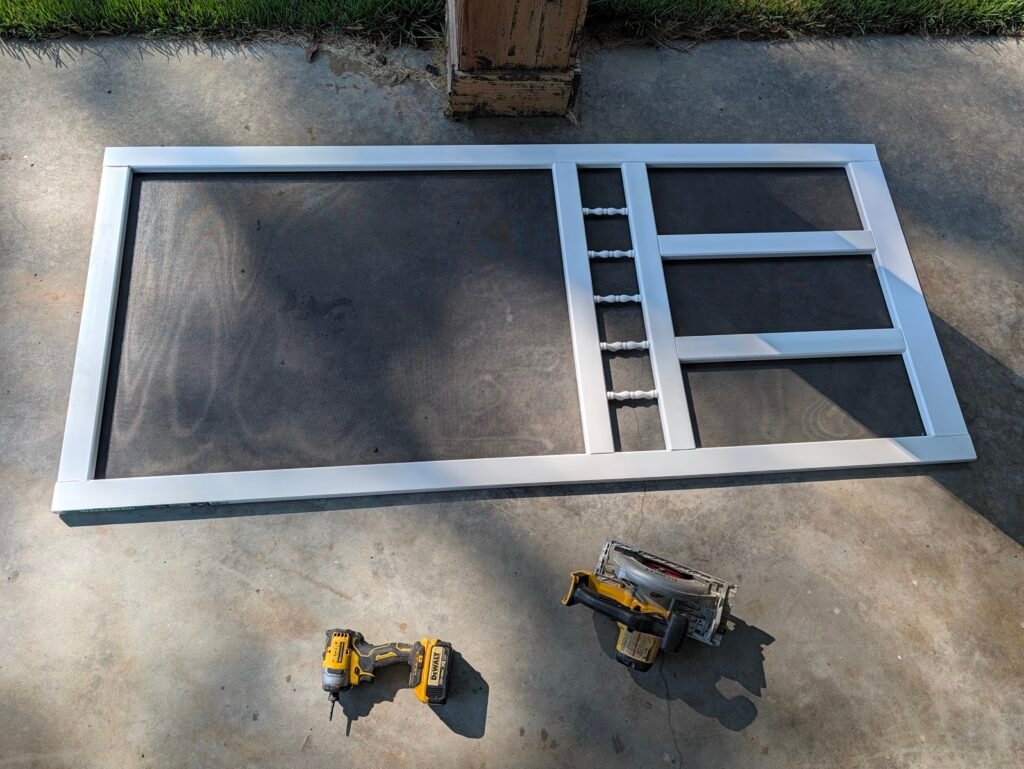
I laid it flat on the concrete and trimmed that 1/4 inch off the hinge side.
The reason is simple: when you open the screen door, the strike side (the handle side) is what you see right at eye level. By cutting the hinge side, the factory-molded edge stays on the handle side looking clean. The side I cut gets covered up anyway by the hinge brackets against the casing.
Just guide your circular saw down the line nice and steady. Vinyl cuts easy, but take your time so it doesn’t chip.
Step 3: Turn your scrap into free bottom shims
Do not toss that 1/4-inch strip you just cut off into the trash.
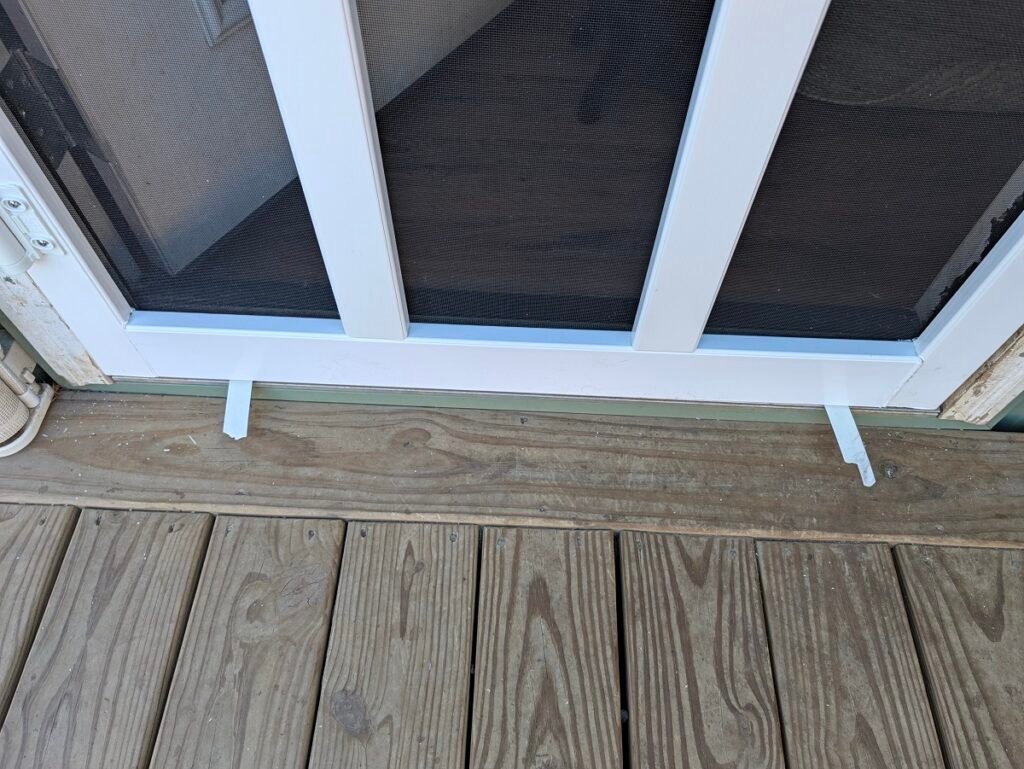
I snapped that off-cut into two small pieces and slid them right under the bottom corners of the door where it sits on the deck. Instant heavy-duty shims that won’t smash down.
That gives you an exact 1/4-inch reveal across the threshold, so you know the door isn’t going to rub or drag on the deck boards once you hang it.
Step 4: Hanging the hinges (watch your pre-drilling)
With the door resting on those shims, I lined it up in the opening and marked where I wanted the hinges on the brick mold. Then I set the door aside.
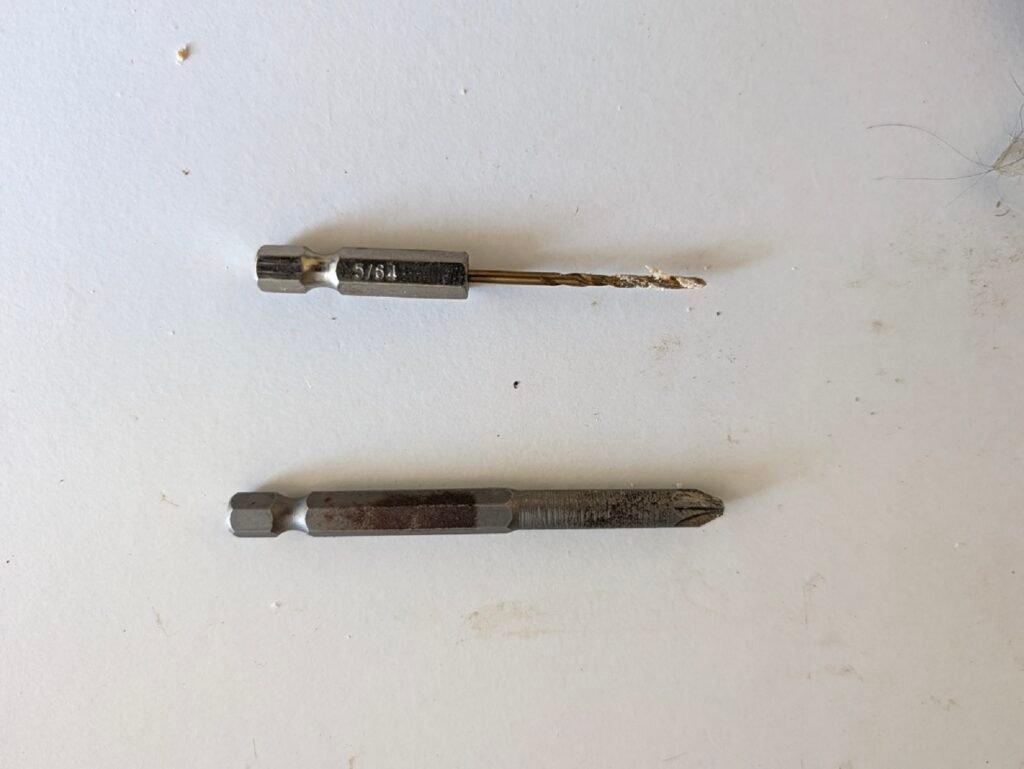
Here’s a big one: when you pre-drill into old brick mold, don’t drill the entire depth of the screw. If you clean out all the wood, the screw won’t hold tight when the wind catches the door.
I chucked up a 5/64″ drill bit and only drilled down just enough to get the screws started straight. You want those screw threads biting into fresh, solid wood for at least half their length.
I screwed the hinges onto the brick mold first. Then I sat the door back up on my scrap shims, swung the hinges against the vinyl, marked my holes, gave them a quick shallow pre-drill, and secured the door to the hinges.
Step 5: Handles and the hook-and-eye
With the door swinging, it’s time to throw the hardware on.
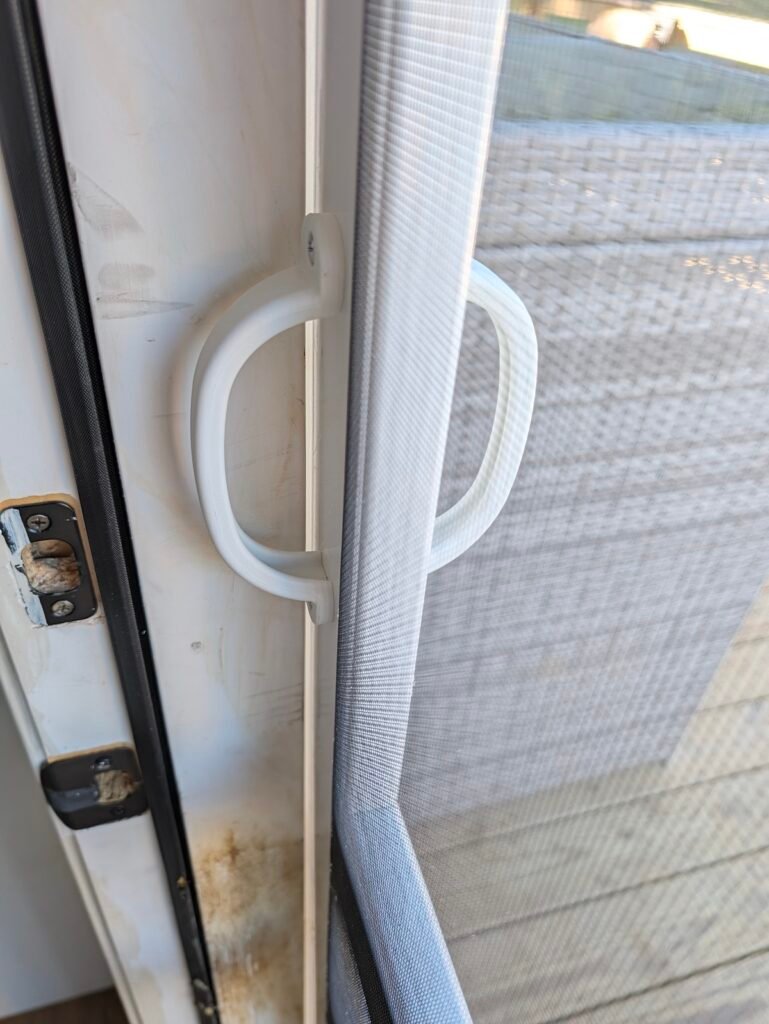
I set the handles where they felt natural, made sure they lined up evenly on both sides, and pre-drilled shallow starter holes again with the 5/64″ bit. Run the screws in snug, but don’t go crazy with the impact driver—you don’t want to strip the vinyl channel.
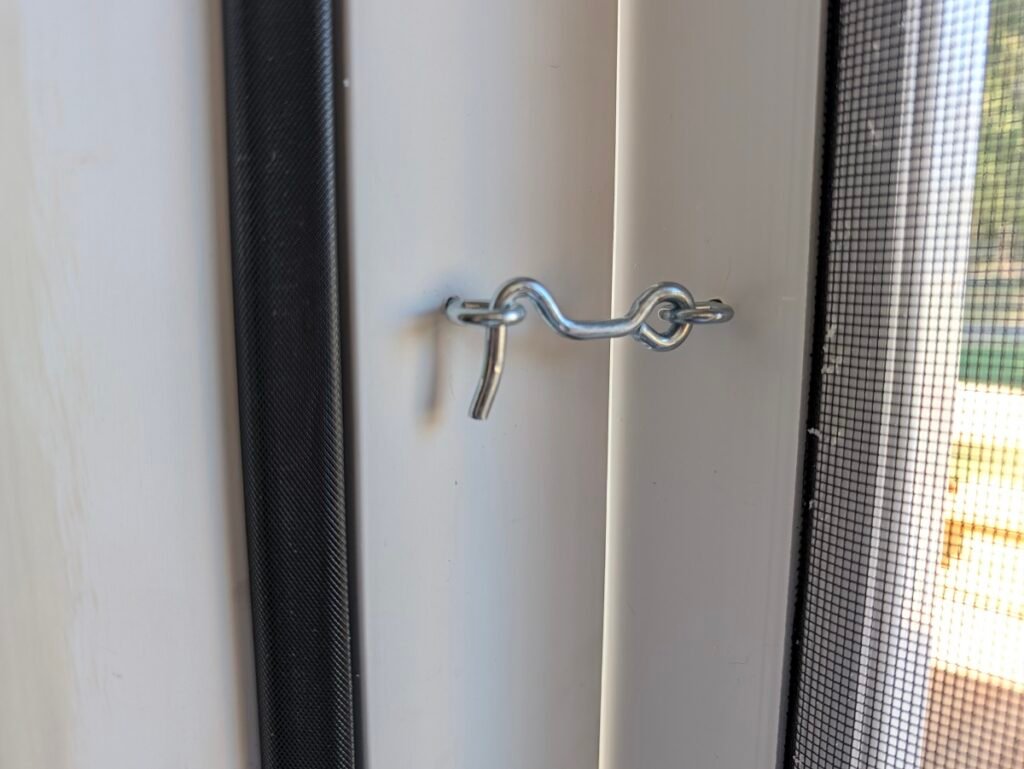
For the latch, I marked where I wanted the hook on the door, drilled a shallow starter, and screwed it in. Then I marked where the eye needed to go on the jamb, pre-drilled it the same way, and set it. Simple, cheap, and it keeps the door from rattling on breezy days.
Step 6: Dial in the spring tension
Once everything is screwed down, slide those two scrap shims out from under the bottom.
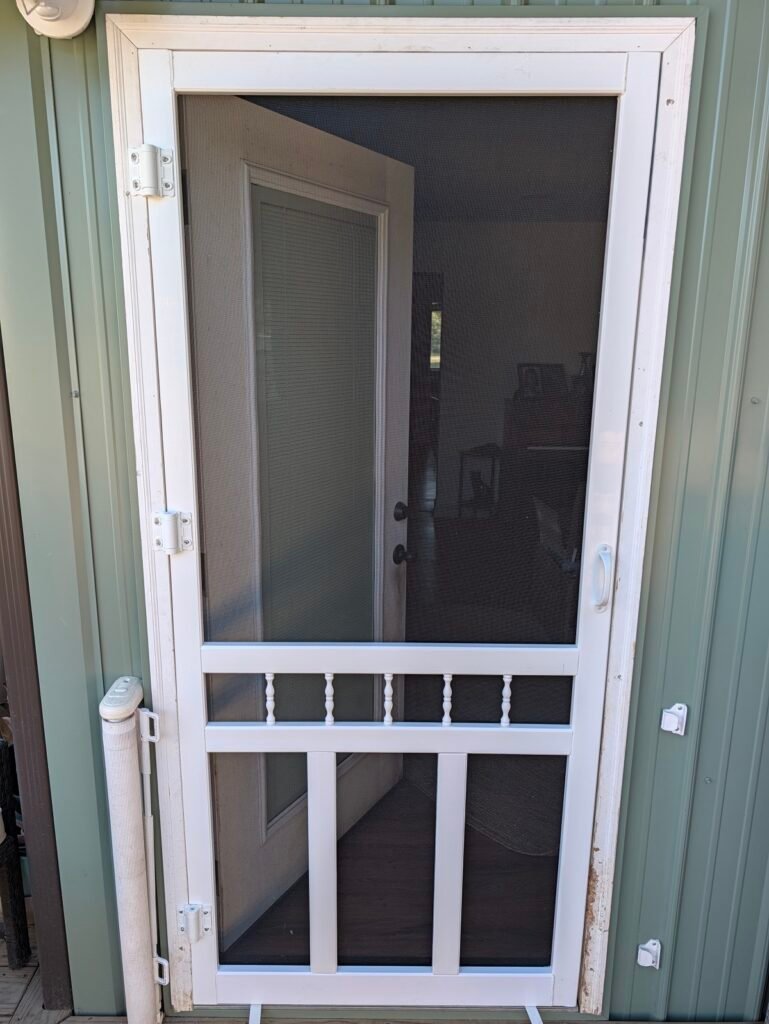
Grab a hand #2 Phillips screwdriver and adjust the top of each hinge barrel. Give them a quarter turn clockwise until the door pulls itself shut cleanly without slamming hard enough to rattle your teeth.
That’s pretty much the whole job. A little planning on the cut side and some shallow starter holes make all the difference.
If you’re knocking out outdoor projects before the weather turns, check out my field checklist on how to winterize your home to get your outside faucets and weatherstripping squared away.