How to Install Butcher Block Countertops: 4 Easy Steps for Perfect Results
Knowing how to install butcher block countertops on a tight budget can completely save a rental remodel.
When we bought this property, it was in rough shape. We had rotted subfloors and old termite damage to deal with before we could even think about cabinets. By the time I had the kitchen boxed in, I needed countertops fast. My usual supplier quoted me two weeks out for custom Formica tops. When you’re trying to get a rental finished and cash-flowing, sitting around for two weeks waiting on laminate isn’t an option.
I ran down to the local discount lumber yard and dug around. They had a couple of “factory seconds” butcher block slabs sitting there. I walked out the door with both tops for $200 total. Way cheaper than custom laminate, and real wood gives a kitchen a whole new look.
Here is the real-world rundown of how I cut, leveled, and locked these tops down in a house where the walls are crooked and the floor isn’t doing you any favors.
Tools you need for how to install butcher block countertops
Here is what I had out on the job:
- Two butcher block slabs ($200 discount seconds)
- Circular saw (with a brand-new fine-finish blade)
- Saw guide / straight edge
- Pair of sawhorses
- 2-foot level
- 4-foot level
- Framing square and tape measure
- Wood shims
- DeWalt 18-gauge cordless finish stapler
- DeWalt Cordless drill / impact driver
- 1-1/2″ wood screws
Step 1: Getting my cut sequence right
I set up my sawhorses out in the driveway, laid the slabs out, and went inside with the tape.
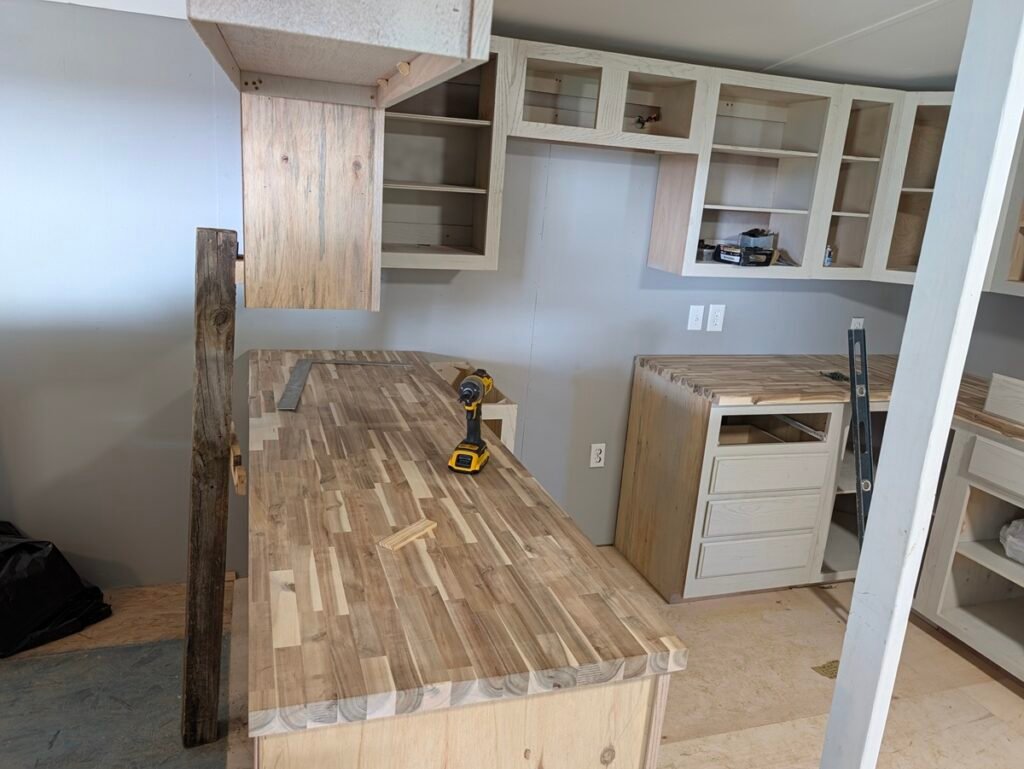
Exterior walls in older remodels are almost never square. Instead of trying to cut everything all at once, you have to work in a sequence:
- The right wall first: I measured and made my first cut for the far right side of the kitchen, away from the peninsula bar. I slid it in place to see how it sat against the back wall.
- The blind corner run: Next, I measured and cut the piece running from the blind corner over toward where the stove sits.
- The peninsula bar: Then I jumped over to the left side and cut the long bar top.
- The 9-inch cabinet (saved for last): In this layout, I had a narrow 9-inch base cabinet sitting right on the other side of the stove opening. I deliberately saved that little top for last.
Pro field tip: Save that small cabinet piece until the very end. That way you can measure off your main run and guarantee you leave an exact 30-inch opening for your standard kitchen range. If your wall is crooked and you cut that piece early, your stove might not slide in.
Whenever you cut solid butcher block with a circular saw, use a straight edge clamped down as a guide. And do yourself a favor: always start a job like this with a brand-new blade. A dull blade will burn the wood and tear out the edge grain.
Step 2: Leveling an out-of-whack room
Once all the pieces were rough-cut, the real work started. Between the patched subfloor having a slight slope and the walls being out of square, nothing was sitting flat on the cabinet boxes. Out-of-square framing is the exact same headache you run into when dealing with a sagging interior door that won’t latch right.
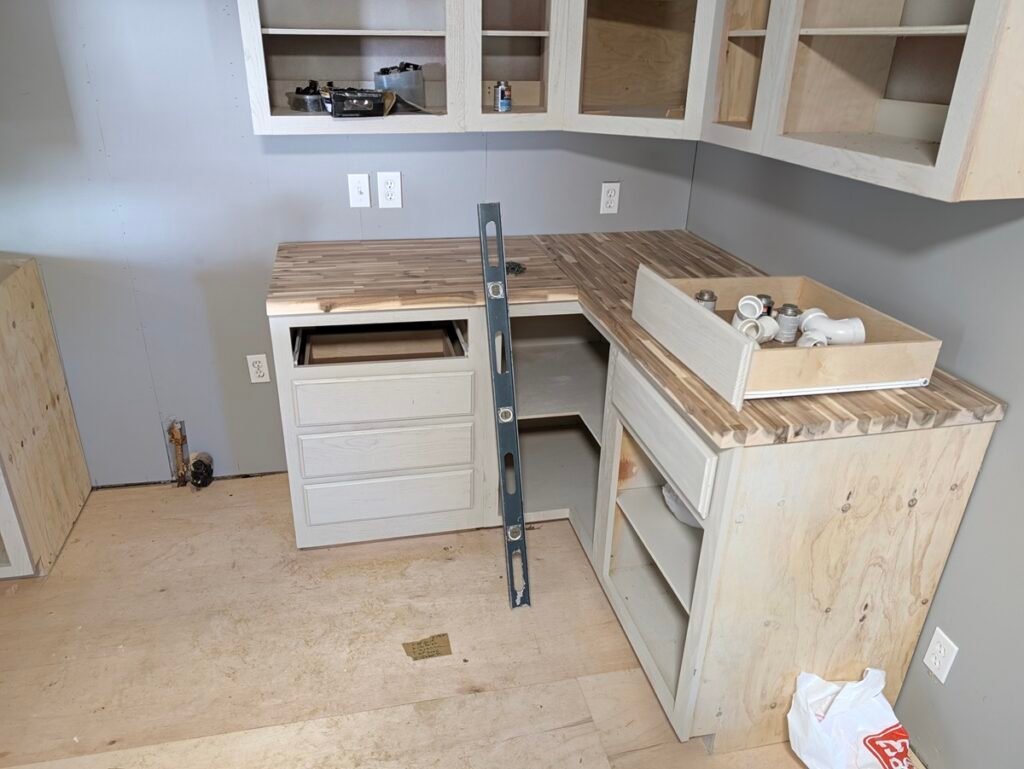
Because we did straight butt joints (block cuts) in the corners instead of fancy 45-degree miter cuts, getting the tops dead-level with each other where they meet is critical. If one sits an 1/8″ higher than the other, you’ll feel a sharp lip every time you slide something across the counter.
I started leveling to the right of the range over the blind corner cabinet. I set my 2-foot level across the slab in both directions—front-to-back and side-to-side.
The back wall was sitting low, so I started slipping wood shims under the slab to bring the back up dead-level with the front face.
Step 3: Stapling the shims down
Here is a big trick that saves a ton of frustration when you’re working alone:
Once I had the shims dialed in and the slab sitting level, I lifted the butcher block up and grabbed my DeWalt 18-gauge finish stapler.
I shot a staple straight through each shim right into the top frame of the cabinet box.
If you just slide loose shims under a heavy top, they will shift, slide back, or drop into the cabinet the second you bump the slab. Stapling them down keeps your exact level locked in place while you pull the top off to clean up dust or adjust your seams.
I worked my way around the room: leveled and shimmed the long blind corner wall, moved over to the bar, and finished with that 9-inch section by the range.
Step 4: Fastening the tops down
With everything flat, flush, and level across the corner joints, it was time to tie them down.
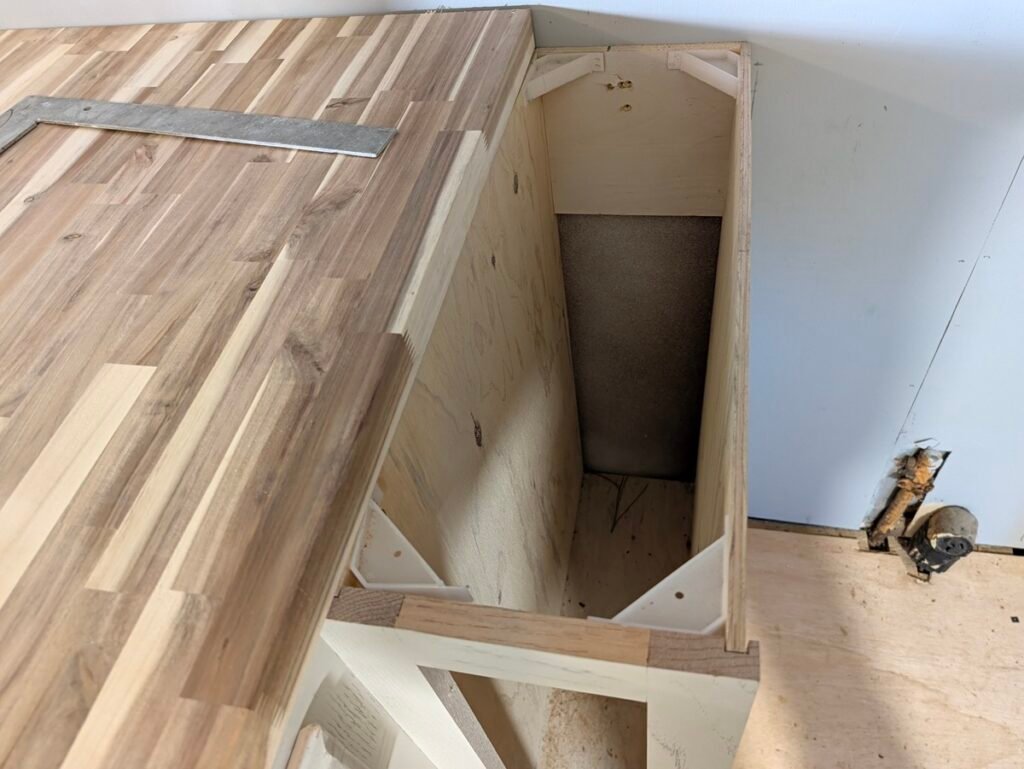
Inside the cabinet boxes, there are corner mounting brackets already installed from the factory.
I crawled underneath with my impact driver and ran 1-1/2″ screws straight up through those cabinet brackets into the underside of the butcher block.
Make sure you check your screw length against your countertop thickness before you drive them. You want plenty of bite into the solid wood, but the last thing you want to do is run a screw point straight up through the finished top.
The finished kitchen
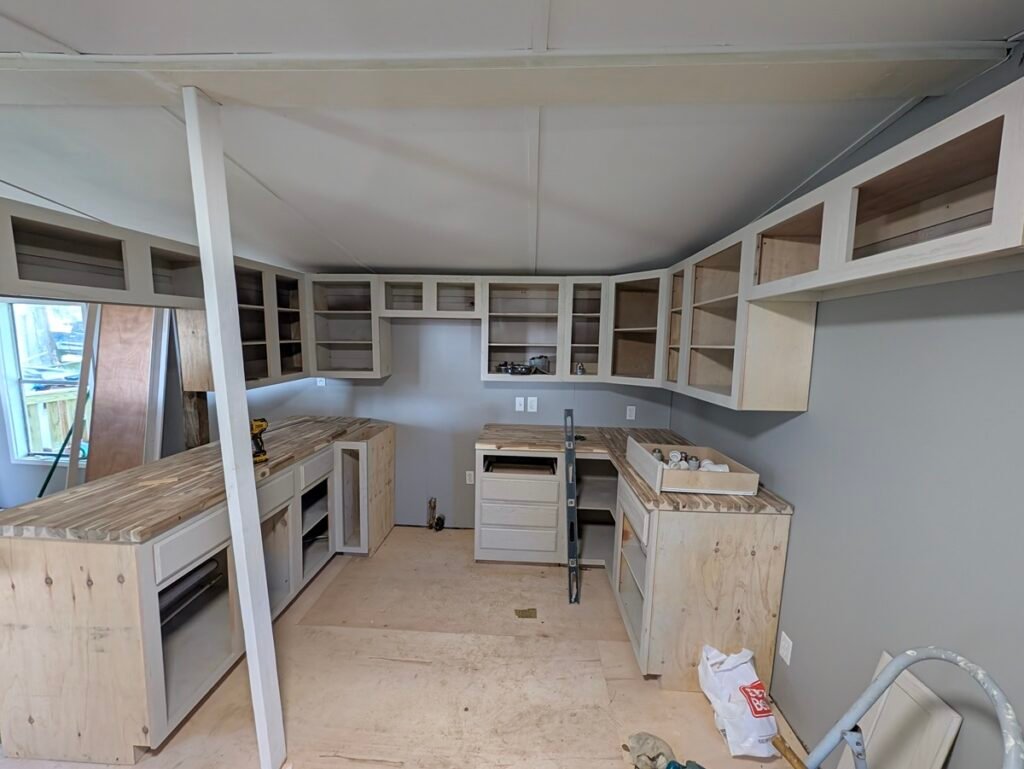
For $200 in discount lumber and an afternoon of careful measuring, this kitchen went from a gut-job headache to looking sharp and solid. No waiting weeks on the factory, and no cheap particleboard that will swell the first time a tenant leaves a wet rag on the counter.
If you’re tackling other rental upgrades on this punch list, check out our guide on how to winterize your home to make sure your exterior lines and draft stops are handled before cold weather sets in.