How to Spray Paint Oak Cabinets with an HVLP Gun: 5 Easy Steps (Proven Setup)
When updating a kitchen on a budget, knowing how to spray paint oak cabinets with an HVLP gun is the fastest way to get a durable, professional finish without contractor pricing. Ordering a standard run of pre-painted shaker cabinets for an average kitchen easily runs $6,000 or more—and half the time you are stuck with cheap particleboard or MDF boxes that swell up at the first sign of a plumbing leak.
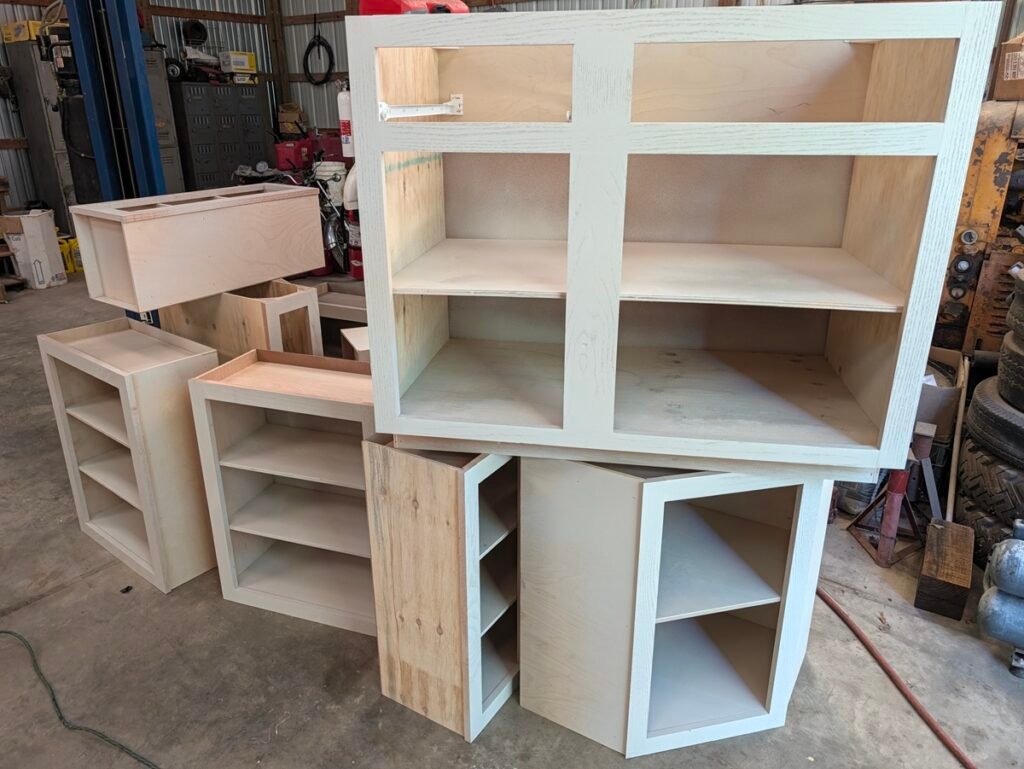
Instead, I bought unfinished oak cabinets with solid plywood sides for right around $2,000. That single move shaved $4,000 off our kitchen remodel budget while delivering substantially more durable, landlord-grade construction. Plywood holds screws better, shrugs off moisture, and solid oak face frames can take decades of heavy abuse.
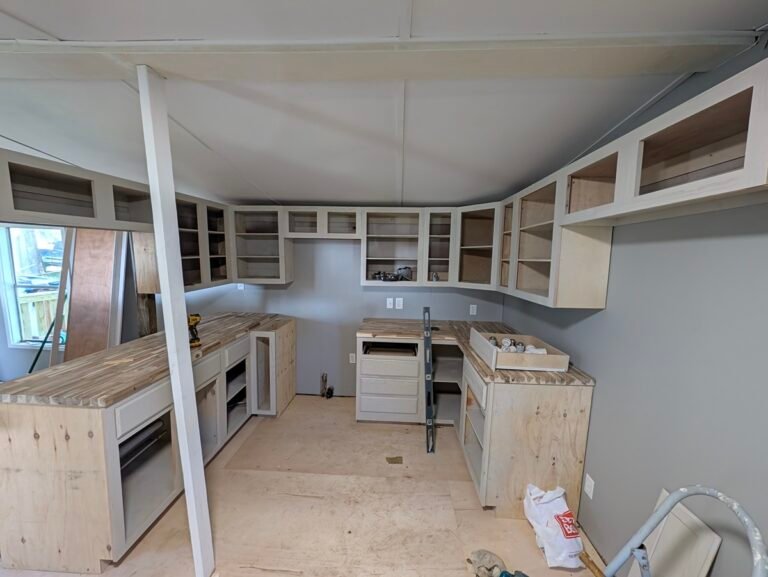
All it took to bridge the gap between raw store-bought lumber and a custom look was a weekend in the shop with a spray gun. By batch-spraying the boxes, face frames, and doors, we got a smooth, durable semi-gloss finish before installing our DIY butcher block countertops
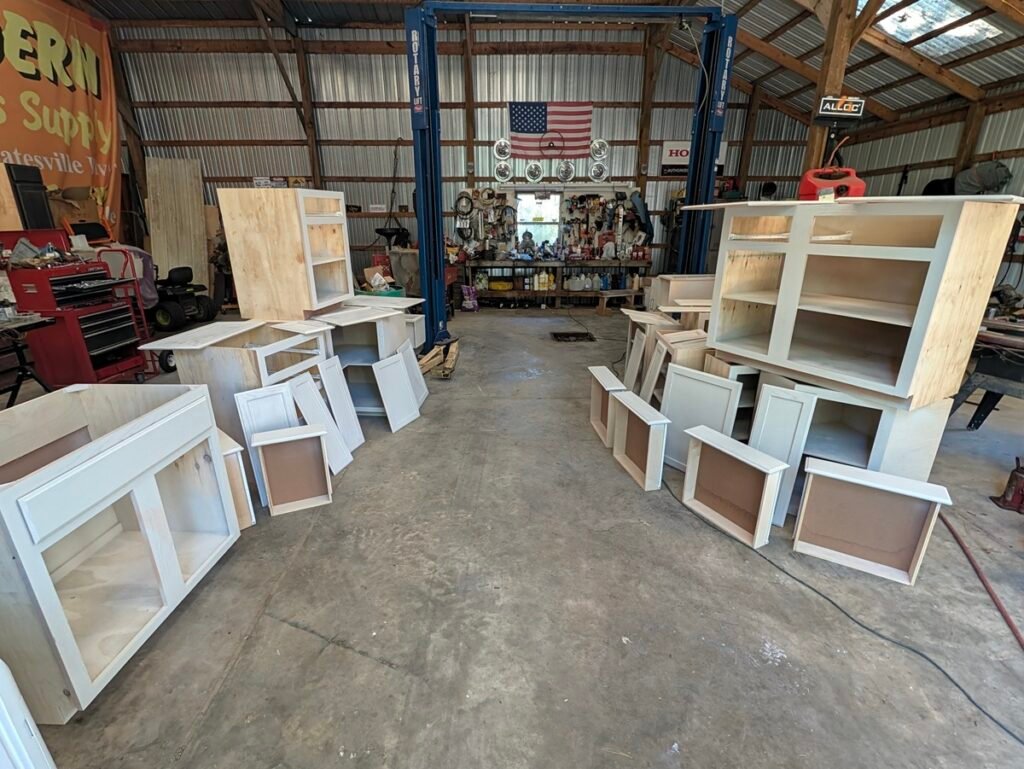
If you want to bypass contractor markups and get factory-level consistency, here is the field-tested guide on how to spray paint oak cabinets with an HVLP gun using a standard shop compressor and a harbor freight budget gravity-feed setup.
The Landlord Math: Why Unfinished Oak + Plywood Sides Wins
- The Factory Pre-Finished Quote: $6,000+ (often built with painted MDF/particleboard carcass panels).
- The Unfinished Oak Alternative: ~$2,000 total for complete base and wall cabinets.
- Cash Savings: $4,000 kept in your pocket.
- Durability Factor: Plywood boxes don’t fall apart under sink moisture, and solid oak face frames won’t crack or dent when someone slams a door. Spending an afternoon spraying them yourself yields a better build at a third of the retail quote.
Tools and Materials Needed to Spray Paint Oak Cabinets with an HVLP Gun
- HVLP Gravity-Feed Spray Gun (1.4mm or 1.5mm nozzle, Central Pneumatic / Harbor Freight style)
- Air Compressor & Inline Air Regulator
- Best Look Paint & Primer In One (Semi-Gloss)
- Cordless Drill or Screwdriver (for hardware removal)
- Small Bucket or Plastic Container (to keep fasteners safe)
- Tack Cloths or Microfiber Rags
- Sawhorses, Buckets, and Scrap 2×4 Lumber (for staging racks)
- Respirator & Safety Glasses
Step 1: Strip Hardware and Lock Down Your Screws
Before you touch that paint gun, back out every single hinge, screw, handle, and drawer glide.
Leaving hinges attached and trying to tape around them is asking for trouble. You’ll end up with painted metal that flakes off the first time a cabinet door swings open. Back every screw out and toss all the hinges, mounting plates, and fasteners straight into a small plastic bucket or coffee can.
Tailgate Tip: Don’t leave hinge screws rolling around loose across a workbench. Between shop dust, overspray, and moving boxes around, losing two proprietary cup-hinge screws will dead-stop your install later. Keep them sealed in one container until you’re ready for final assembly.
Step 2: Wipe Down the Oak Pores and Clear Dust
Raw wood from the supplier is full of fine sawdust, and shop air doesn’t help.
Oak has deep, open cathedral grain. If you leave loose wood dust sitting inside the profile bevels and spray right over it, that dust mixes into your wet coat and cures like rough sandpaper.
Take a clean tack cloth or slightly damp microfiber rag and wipe down every face frame, interior shelf, and door edge. Let the wood dry off completely before hauling anything out to the spray station.
Step 3: Build an Outdoor Sawhorse Spray Staging Area
Do not try to spray cabinet doors leaning upright against a wall. Gravity will grab that wet paint, drag it into the bottom rail grooves, and give you ugly vertical runs.
Set up a simple staging line outside your garage or shop bay:
- Set pairs of sawhorses or sturdy buckets parallel to each other.
- Lay scrap 2x4s across them to build an elevated drying rack.
- This setup gets your doors up to waist height where you can walk around each piece and hit every edge without dragging a hose through your fresh work.
Step 4: Dial Your Air Regulator to 50 PSI to Spray Paint Oak Cabinets with an HVLP Gun
Dialing in your air pressure is where most people get tripped up with an HVLP gun.
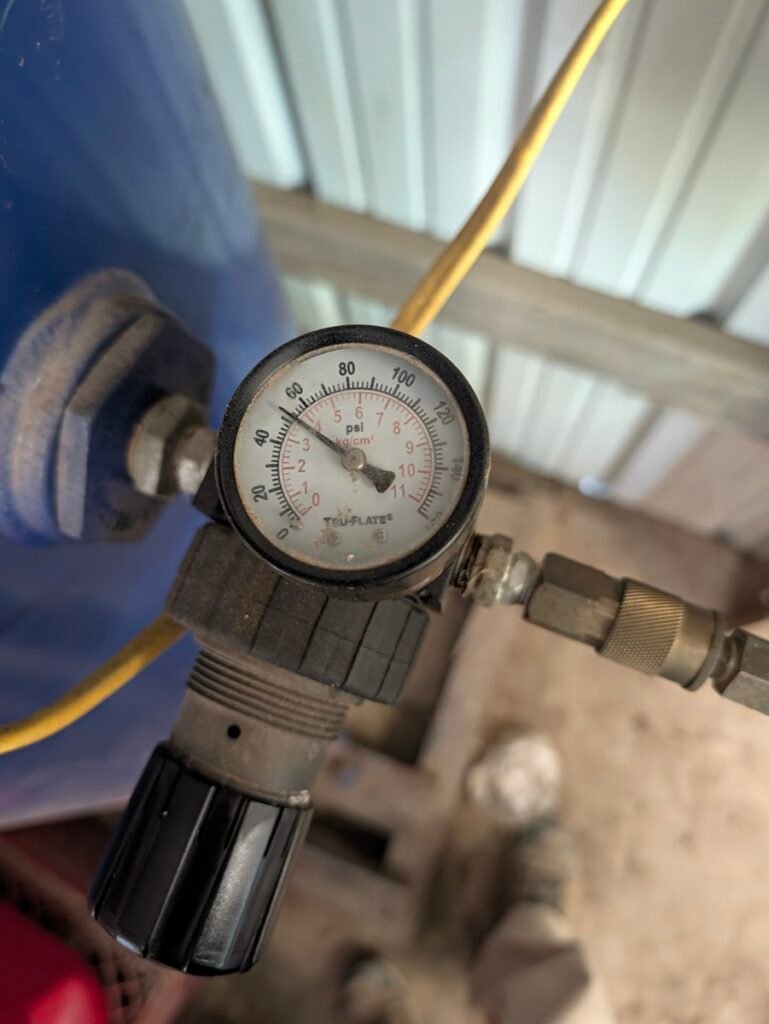
For this kitchen, I used Best Look Paint & Primer In One in a semi-gloss finish. Heavy latex and acrylic wall paints straight out of the can are thick. The generic manual that comes with a budget gun will tell you to spray at 25–30 PSI, but if you feed thick, unthinned paint into that gun at 30 pounds, it’s just going to spit and spatter large globs all over your wood.
To atomize the unthinned semi-gloss paint cleanly through that Harbor Freight gravity gun, I dialed the inline regulator right to 50 PSI.
That extra line pressure gives the gun the muscle it needs to shear heavy fluid into a consistent, fine mist without clogging up.
- Shop Note: The unthinned paint was laid down clean at 50 PSI, but if you want to make life even easier on your compressor and your trigger finger, adding in about 10% water or a conditioner like Floetrol will help that fluid flow even smoother through a standard 1.4mm tip.
Step 5: Lay Down Light Passes to Keep the Natural Oak Grain
Pour your paint into the cup, set your spray pattern to an upright vertical fan (up and down), and test a quick burst on a piece of scrap cardboard to check the mist pattern.
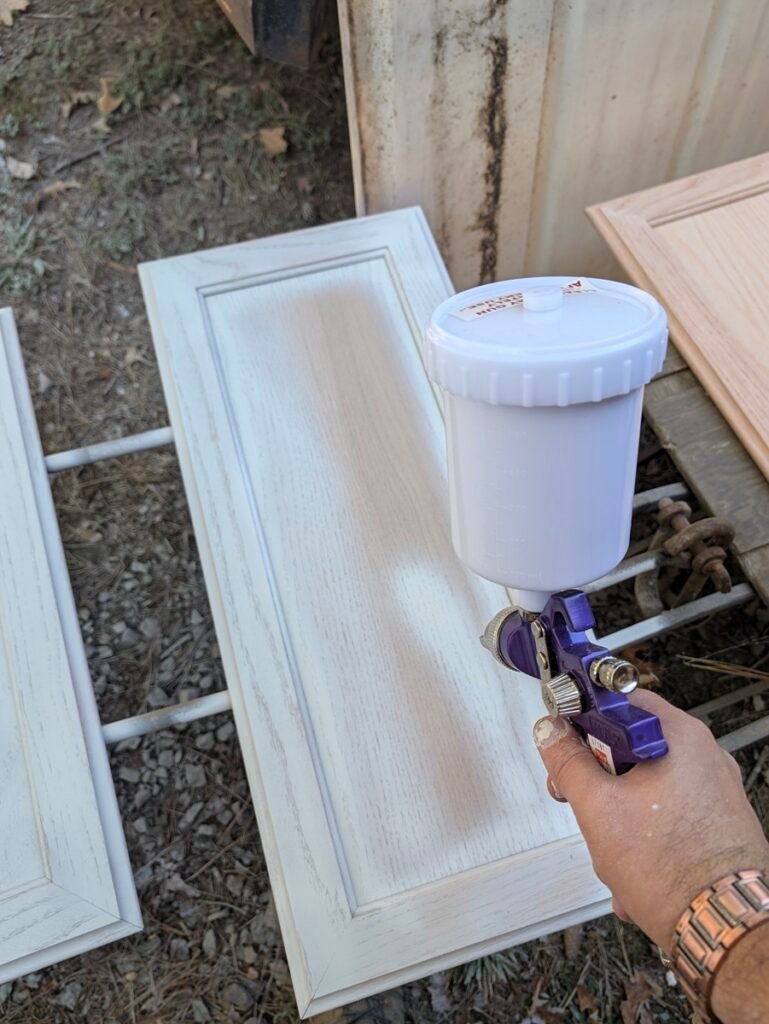
- Keep Your Distance: Hold the tip about 6 to 8 inches off the wood. Don’t arc your wrist—move your whole arm straight across.
- Overlap Passes by 50%: Pull the trigger right before you hit the edge of the door, sweep across, and release past the other side.
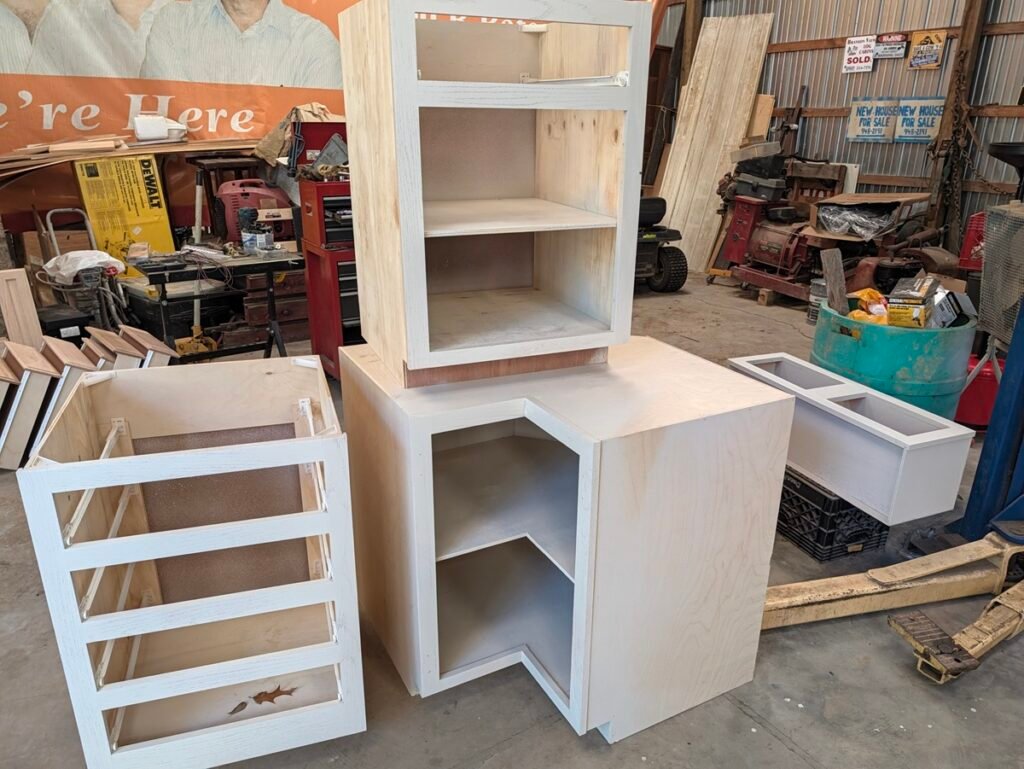
- Keep the Volume Moderate: The main reason I prefer spraying oak over rolling it is control. A roller floods paint into the low spots and leaves roller stipple everywhere. An atomized spray lays down a uniform color coat without filling the wood pores completely solid. The natural cathedral grain texture of the oak stays crisp and visible right through that durable semi-gloss finish.
- Spray Flat on the Rails: Keep the doors and drawer fronts laying flat on your 2x4s while spraying. That lets the semi-gloss self-level into the corners without pooling or sagging down the edges.
Let that first coat dry per the can’s instructions. If you notice any tiny grain nibs standing up, knock them down with a quick swipe of a 320-grit sanding sponge, blow off the dust, and lay down your second coat.
The Field Verdict
You don’t have to blow $6,000 on pre-painted kitchen cabinets to get a sharp, durable remodel. Grabbing unfinished oak units with solid plywood boxes for $2,000 gets you real wood, far better moisture defense, and leaves $4,000 in your pocket for quality butcher block countertops, sink clips, and fixtures.
By organizing your hardware in a bucket, building a simple outdoor staging rack, and running an inexpensive gravity-feed gun dialed in at 50 PSI, you get a clean, landlord-grade finish that highlights true wood character and stands up to daily wear.
Once your final coat cures, run your hinges back in, set your boxes, and your layout is ready for top surfaces. Check out how we finished this budget kitchen remodel with our step-by-step guides on cutting and sealing DIY butcher block countertops, securing an top mount basin with heavy-duty sink clips, and tackling the final plumbing with our guide to replace a kitchen faucet in 6 steps.