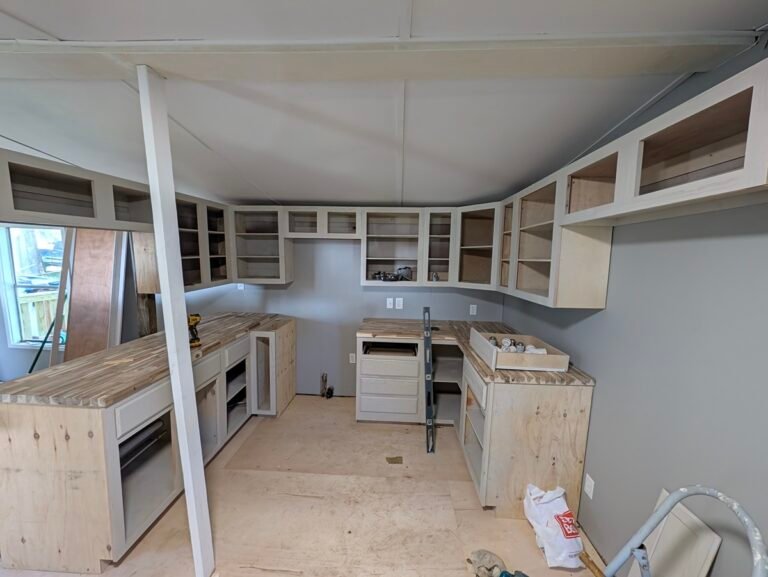
How to Cover an Old Mobile Home Ceiling with 1/4 Luan Plywood
If you have ever walked into a rental property after a heavy indoor smoker moved out, you know the exact look I am talking about—and why learning how to cover an old mobile home ceiling with 1/4 luan is such a lifesaver. Years of thick yellow nicotine get baked right into those textured mobile home ceiling panels. You can scrub until your arms fall off, and even heavy stain-blocking primer sometimes struggles to keep that bleed-through and smell locked down—especially on old, chalky manufactured home ceiling board.
Ripping the whole ceiling out is a nightmare. Once you pull those panels down, you have blown-in insulation raining on your head, vapor barriers tearing, and a massive mess that costs way too much time and money to put back together.
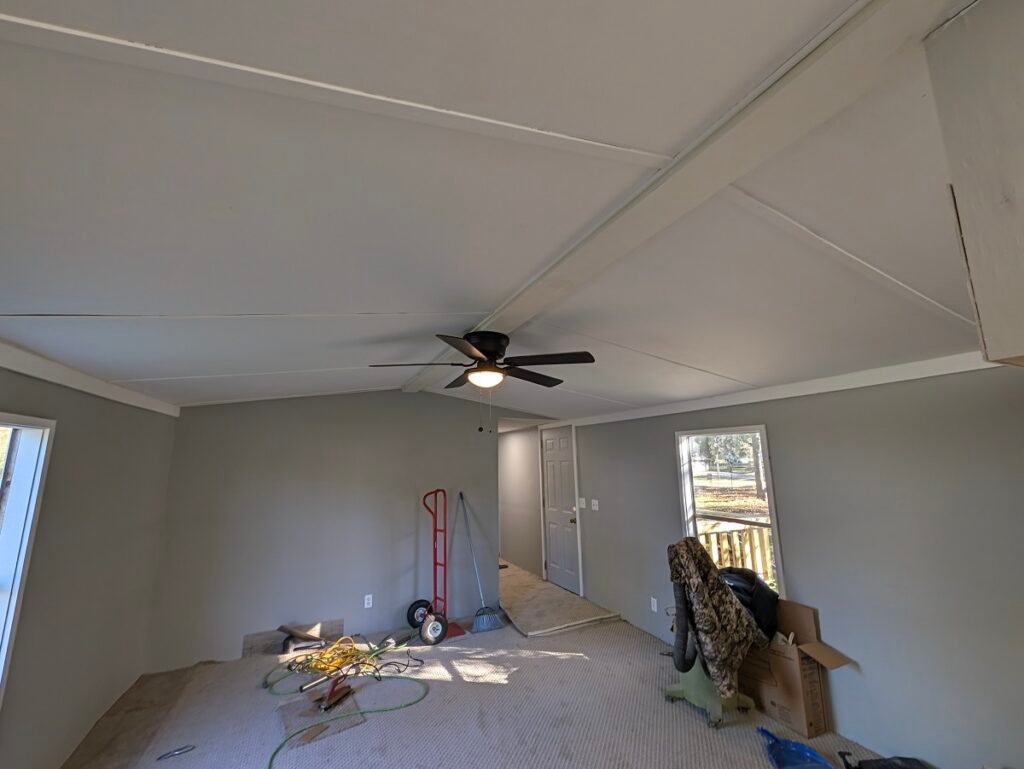
So on this mobile home remodel, covering the old ceiling with 1/4-inch luan plywood was really the only smart option we had. It is lightweight enough to handle overhead, flexible enough to follow the slight pitch of a mobile home roof, and when you trim the seams out with lattice strips, it looks like a custom paneled ceiling instead of a cheap patch job.
Here is the exact step-by-step process I used to get it done cleanly without fighting it.
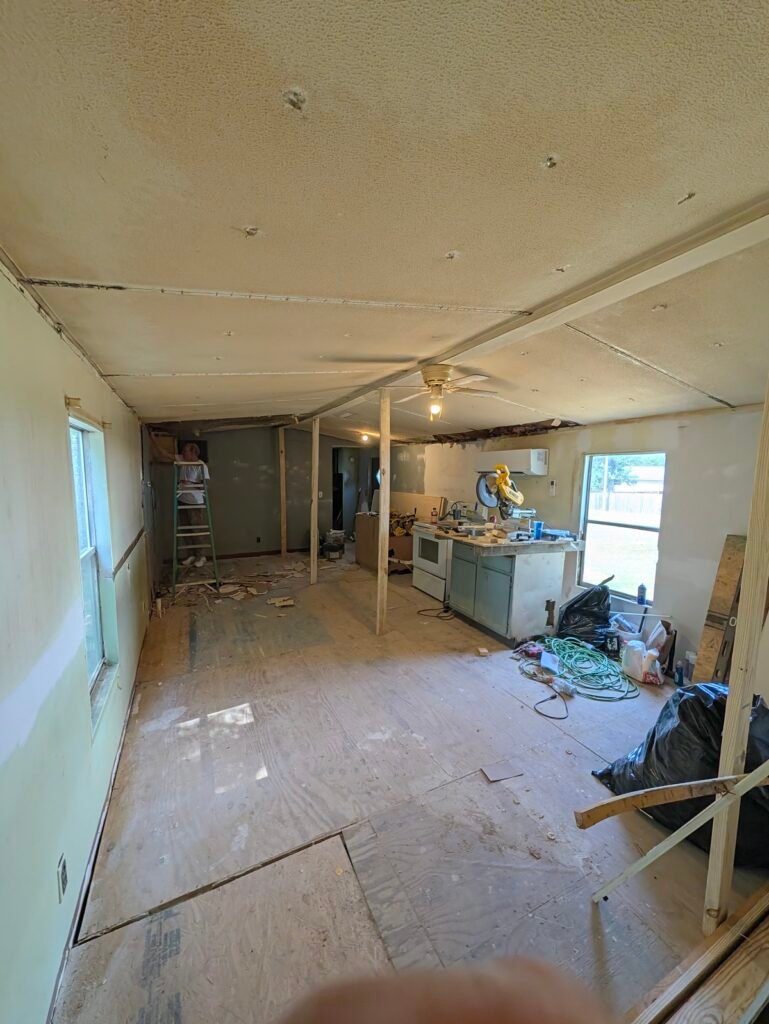
Tools & Materials Needed to Cover an Old Mobile Home Ceiling with 1/4 Luan
- 1/4-inch Luan (Lauaan) Plywood Sheets (4×8)
- 1-3/8-inch Wood Lattice Stripping (for covering the seams)
- Perimeter Ceiling Trim / Cove Molding
- 1/4-inch Crown Stapler (pneumatic or cordless) + staples long enough to bite solidly into the roof trusses
- Oscillating Multi-Tool or Flush-Cut Saw (for cutting off plastic rosettes and stubborn screw heads)
- Wood Filler & Putty Knife
- Stain-Blocking Primer & Ceiling Paint
- Tape Measure, Pencil, & Straightedge
Step 1: Cut Off the Rosettes and Screw Heads
Mobile home ceilings are famous for those little plastic washers—rosettes—with screws holding the panels up. You cannot lay a flat sheet of 1/4-inch luan over bumps, or every single one of them will telegraph right through your new ceiling.
First, I went through the entire room and cut all the plastic rosettes off the ceiling, then sheared the screw heads flush so nothing was sticking down.
Important Landlord Tip: Before you start cutting screw heads off, make sure your existing ceiling panels are actually secured by staples as well. On this particular ceiling, the factory had stapled the panels to the trusses in addition to the rosette screws, so there was zero fear of the old ceiling dropping on my head once I cut the screws off. If yours only has screws, leave a few holding each panel until you are ready to shoot your luan up over it.
Step 2: Pull the Old Trim and Smooth Out the Surface
Next, I pulled down all the old perimeter trim around the walls and along the center marriage beam. Once the trim was off, I went across the ceiling and cleaned/scraped any loose texture, protruding staples, or debris so the surface was as flat and smooth as possible for the 1/4-inch luan sheets to lay tight.
Step 3: Find and Mark Every Ceiling Joist (Don’t Skip This!)
Once you lift a 4×8 sheet of plywood up over your head, you are flying blind. If you do not mark your trusses beforehand, you will end up shooting staples into thin air and wondering why your ceiling starts sagging six months later.
I went through the entire room and located every single ceiling joist (roof truss). For each joist, I placed a clear pencil mark on the top of the wall AND a matching mark on the center ceiling beam. That way, every time I put a sheet of luan up, I could line up my wall mark with my center beam mark and know the exact path of the wood behind it.
Step 4: Measure Every Single Panel Individually
You might think a mobile home ceiling is uniform from one end to the other, so you can just cut ten panels to the exact same length and start stapling. Do not do that.
When I measured out the length each panel needed to be from the outer wall to the center ridge beam, there was a small variance in the lengths down the run of the house. Take multiple measurements for every single panel location and cut each sheet to fit its specific spot. Taking thirty extra seconds with your tape measure saves you from ugly gaps at the wall or beam.
Step 5: Staple the 1/4″ Luan from the Center Out
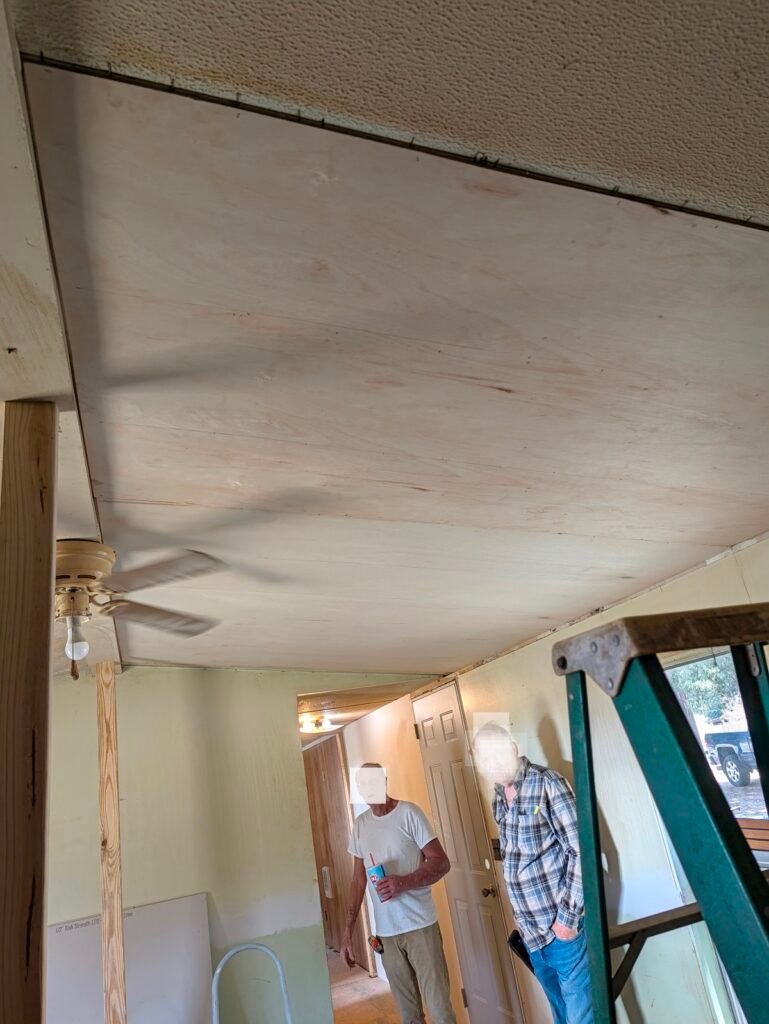
When it came time to hang the sheets, I grabbed my 1/4-inch crown stapler.
The secret to getting 1/4-inch luan to lay flat without bubbling or rippling is the fastening pattern:
- Start in the center of the sheet and work your way out toward the edges. That pushes any slight bow in the plywood out to the perimeter instead of trapping a bubble in the middle.
- Place a staple roughly every 6 inches running all the way up each marked ceiling joist. Luan is thin—if you space your fasteners 12 or 16 inches apart, it will eventually sag between staples in summer humidity. Every 6 inches locks it tight against the framing.
Step 6: Cover the Seams with 1-3/8″ Lattice Strips
Butt joints on thin 1/4-inch plywood are almost impossible to mud and tape invisibly on a ceiling that flexes slightly with temperature changes. Instead of fighting the seams, lean into them.
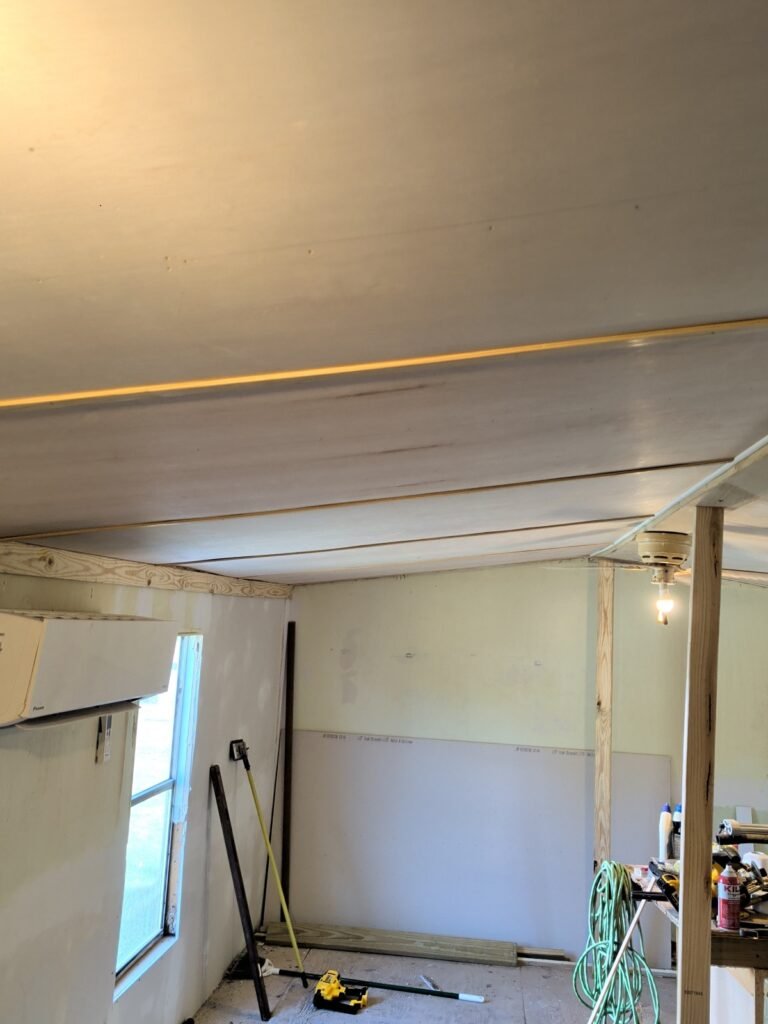
After I had all the luan sheets hung, I took 1-3/8-inch lattice stripping and stapled it directly over every seam running up the ceiling slope. It hides any minor expansion gaps between sheets, adds a clean architectural batten look, and gives you crisp, straight lines across the whole room.
Step 7: Fill Staple Holes, Paint, and Re-Trim
Once all the lattice battens were up, I went back through the ceiling and filled every single staple hole with wood filler, then lightly sanded them flush once dry. Taking the time to fill those tiny crown staple dimples makes a massive difference in how smooth the paint lays down—especially when light hits the ceiling from the windows.
After the filler was sanded smooth, I rolled on a good coat of primer and finish ceiling paint, hung the new ceiling fan, and installed fresh perimeter trim around the edges where the ceiling meets the walls.
Frequently Asked Questions About Covering a Mobile Home Ceiling with Luan
Is 1/4-inch luan strong enough for a mobile home ceiling without sagging?
Yes, as long as you fasten it properly. Because 1/4-inch luan is thin, you cannot space your fasteners far apart like standard drywall. Stapling every 6 inches along every roof truss—and covering the panel seams with 1-3/8″ lattice strips—keeps it tight and flat for years.
Why use 1/4″ luan instead of 1/2″ drywall in a mobile home?
Mobile home roof trusses are lighter-duty than stick-built houses and aren’t always engineered to carry the heavy dead weight of extra 1/2-inch sheetrock. Luan weighs a fraction of drywall, won’t crack if the home settles or shifts seasonally, and doesn’t require overhead drywall mudding and sanding.
Do I need to prime 1/4-inch luan before painting it?
Always prime raw luan before painting. Luan is a tropical hardwood veneer that can bleed natural tannins (brownish-yellow spots) through water-based latex paint if you skip primer. One coat of a quality stain-blocking primer seals the wood grain so your topcoat stays bright white.
Check out our other guides on how to build a porch on a tiny house or install a kitchen sink in butcher block!